
Thinking of setting up a Shopify dropshipping operation that's ready to deliver results?
We're here for you! In this guide, we give you not only a list of the 10 best Shopify dropshipping apps available, but also a full ultimate guide on how to set up and run your dropshipping business on Shopify.
In this article:
👉 Tell me what dropshipping is
👉 Give me the list of the top 10 shopify dropshipping apps
👉 Where does Shopify come into the picture?
👉Which of these best Shopify dropshipping apps is the one for me? 🏆
What is dropshipping? 🤔
Once upon a time, running a business meant creating your own products from scratch, spending loads of upfront cash, and handling everything from shipping to packaging and customer support.
That's changed quite a bit over the years, and one of the most popular trends out there is called dropshipping!
If you're unfamiliar with the selling tactic, it basically allows merchants to partner with a “dropshipper” or supplier, who creates and stores products, then ships them out to your customers after you've made sales on your website.
Here's the process:
- The purchasing sequence starts not by you acquiring the product from the supplier, but rather by the customer placing an order in your store and paying for it. In other words, in the dropshipping scenario, you get paid before you even have the product in store.
- Next, once you have the money, you pay the supplier and tell them to fulfill the order for you.
- The supplier handles the fulfillment all by themselves without you ever touching the product – it goes straight from the supplier to the customer. So, essentially, your only job is to run your ecommerce site and work on marketing.
What are the best Shopify dropshipping apps in 2024? ⭐
Let's start with some background info that you should know before diving into the wide world of Shopify dropshipping apps.
With that out of the way, here's your list of the best Shopify dropshipping apps:
Free Webinar: How to Quickly Start a Profitable Dropshipping Store
Learn how to find high-margin products, import them into your store, and start selling — fast.
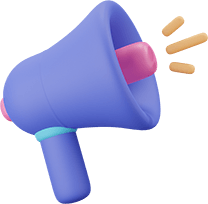
1. Printful
Printful (read our full Printful review) offers you a different kind of a dropshipping setup.
Whereas the other apps on this list offer a large selection of suppliers to choose from, and thus populate your store with a bigger number of different products, Printful is your go-to “print on demand” dropshipper.
Printful combines custom printing and dropshipping so that you can sell anything from posters to t-shirts, and pillows to mugs.
The great part about Printful is that it has an ever-growing collection of quality products, and the design module is well-structured for you to upload your designs and start selling them on Shopify.
All you need to do to use Printful is select the products that you want to sell and upload your designs. Whenever anyone orders from you, Printful will handle the printing and delivery.
And just to make sure we're clear here, Printful is about a lot more than just t-shirts. You can also sell custom fanny packs, phone cases, backpacks, stickers, bags, flip-flops, swimwear, posters, coffee mugs, and a lot more.
What makes Printful one of the best Shopify dropshipping apps?
- The printing and dropshipping is all handled for you. You do have to design your products, but the graphic uploading tools are easy to use.
- Printful provides thousands of products in its library, making it easy to sell custom and branded items.
- Printful has several locations, including California and North Carolina. Therefore, you're able to get your products shipped to customers in a reasonable time frame.
- You don't pay anything for Prhttps://ecommerce-platforms.com/go/TryPrintfulintful upfront. Each item in the catalog has its own price, and then you get to set your own retail price tag on top of that. How much you earn is entirely up to you. Plus, as a result of this ecommerce business model, you don't have to spend anything before you actually start making money.
👉 Read our Printful review
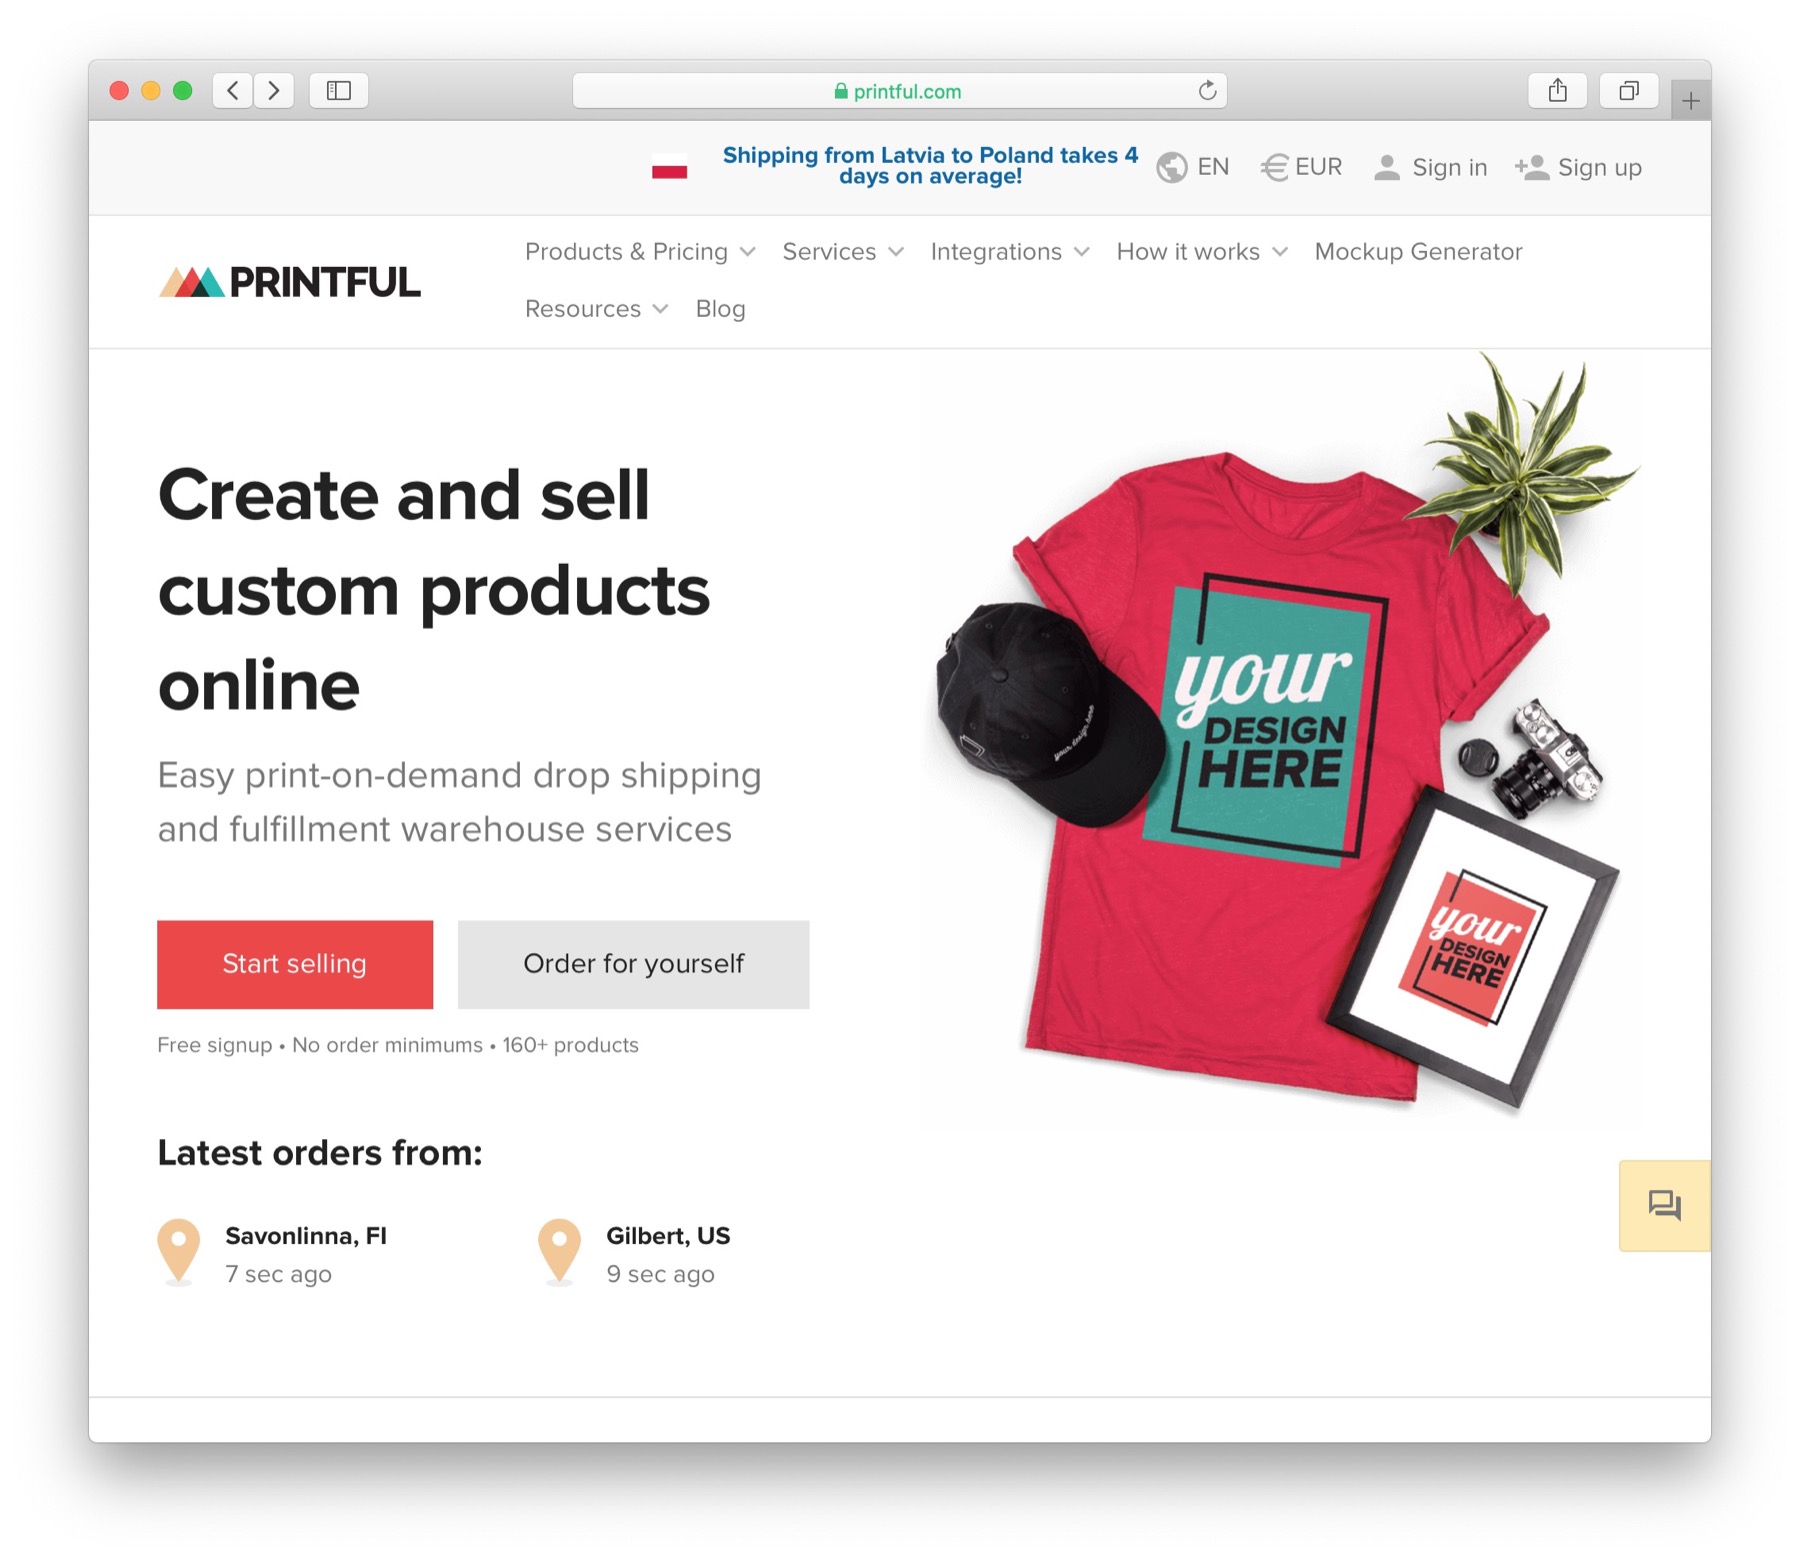
2. Spocket
Spocket (read our full Spocket review) is a highly rated, excellent alternative to DSers. In fact, we would argue that it's a bit more advanced than Oberlo in terms of the quality of suppliers.
Most of the suppliers come from Europe and the US, so it's great for merchants based in those parts of the globe.
This makes Spocket a great tool if you want to build a Shopify dropshipping store but still keep it fairly local and not have packages be sent from China, but instead support suppliers from Europe or the US.
Apart from Shopify integration, Spocket also offers a module for WooCommerce, which might be useful to those who already run their main websites on WordPress.
What makes Spocket one of the best Shopify dropshipping apps?
- You get to work with European and US manufacturers, so the shipping is generally faster for stores located there.
- The Spocket pricing is some of the most competitive of all apps on this list. The average discount for merchants is 45%, giving you plenty of room for your margins.
- Your company branding is added to all receipts and invoices that go out. It's not exactly the same as a logo on the packaging, but it's better than nothing.
- The real-time shipment tracking keeps your customers in the loop.
- Since the products mainly come from the US, Canada, and Europe, we've noticed they're often higher quality in general.
- Spocket has options for testing out products before putting them on your website.
👉Read our Spocket review
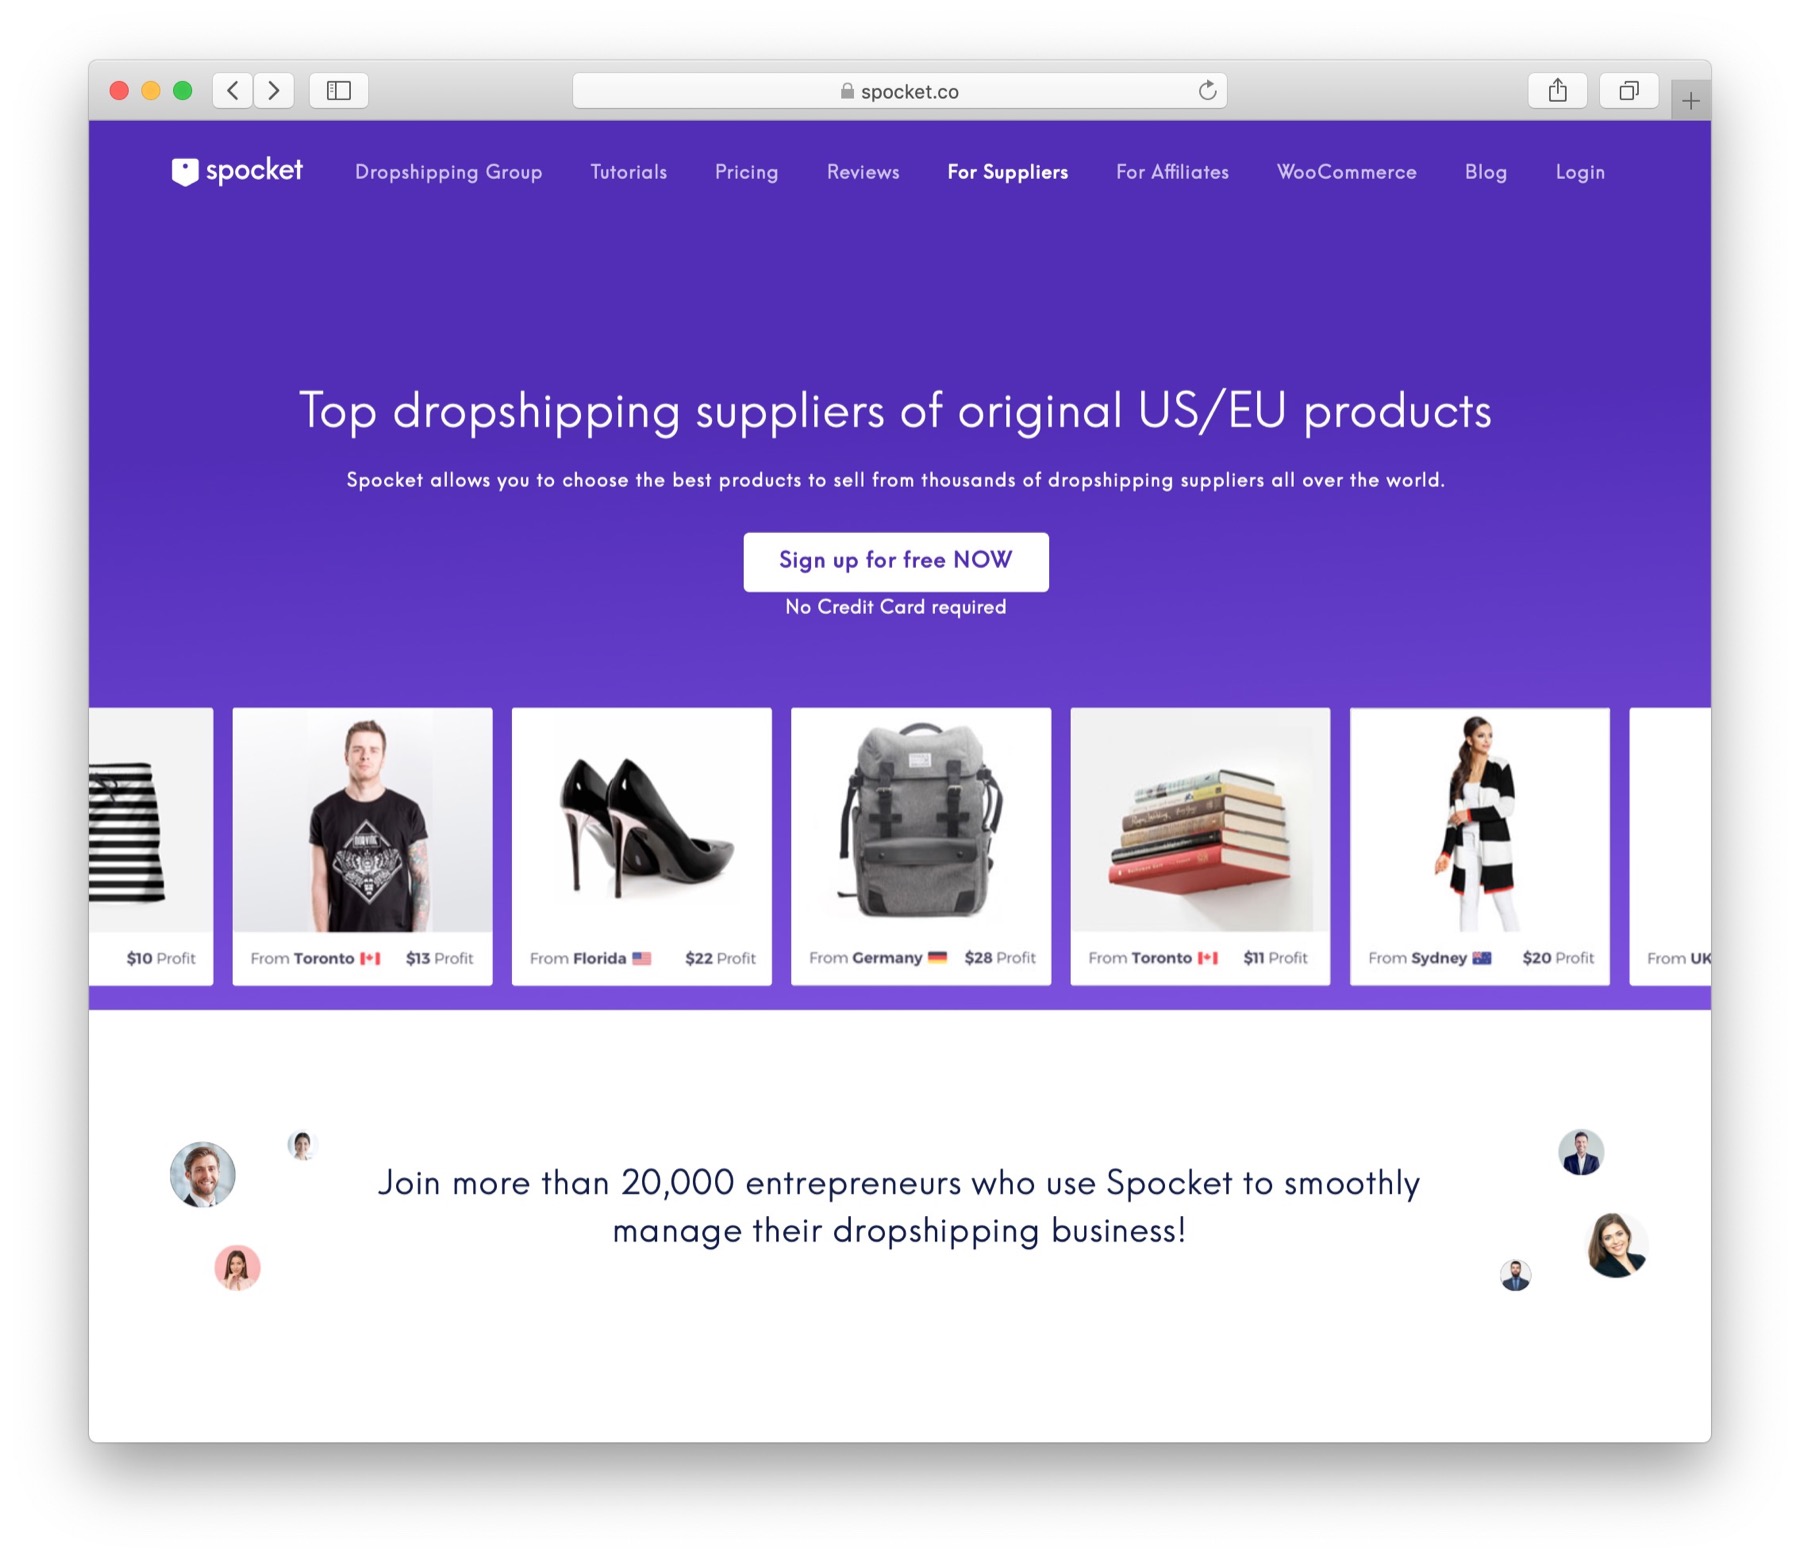
3. DSers
DSers is the official ecommerce dropshipping partner of AliExpress, one of the biggest marketplaces in the world.
This app easily integrates into Shopify, Wix, and WooCommerce stores, providing quick and convenient access to thousands of suppliers, products, and vendors in an instant.
The DSers platform makes it easy to sort through products and vendors in seconds, placing single orders, or bulk purchasing requests.
Depending on the plan you choose, you’ll also be able to access automatic pricing and inventory updates, as well as cost-change management.
Many packages offered by DSers also come with the AliExpress Saver Shipping system, which helps companies to find the most cost-effective way to send items to their customers.
There are also plans which include variants mapping, multiple store support, bundle mapping, and affiliate marketing.
If you opt for the DSers free plan, you’ll still get support for up to 3 stores, and 3,000 products per account, as well as notification based cost and inventory management.
All plans come with excellent customer support too.
👉 Check out our DSers review to learn more.
4. Inventory Source
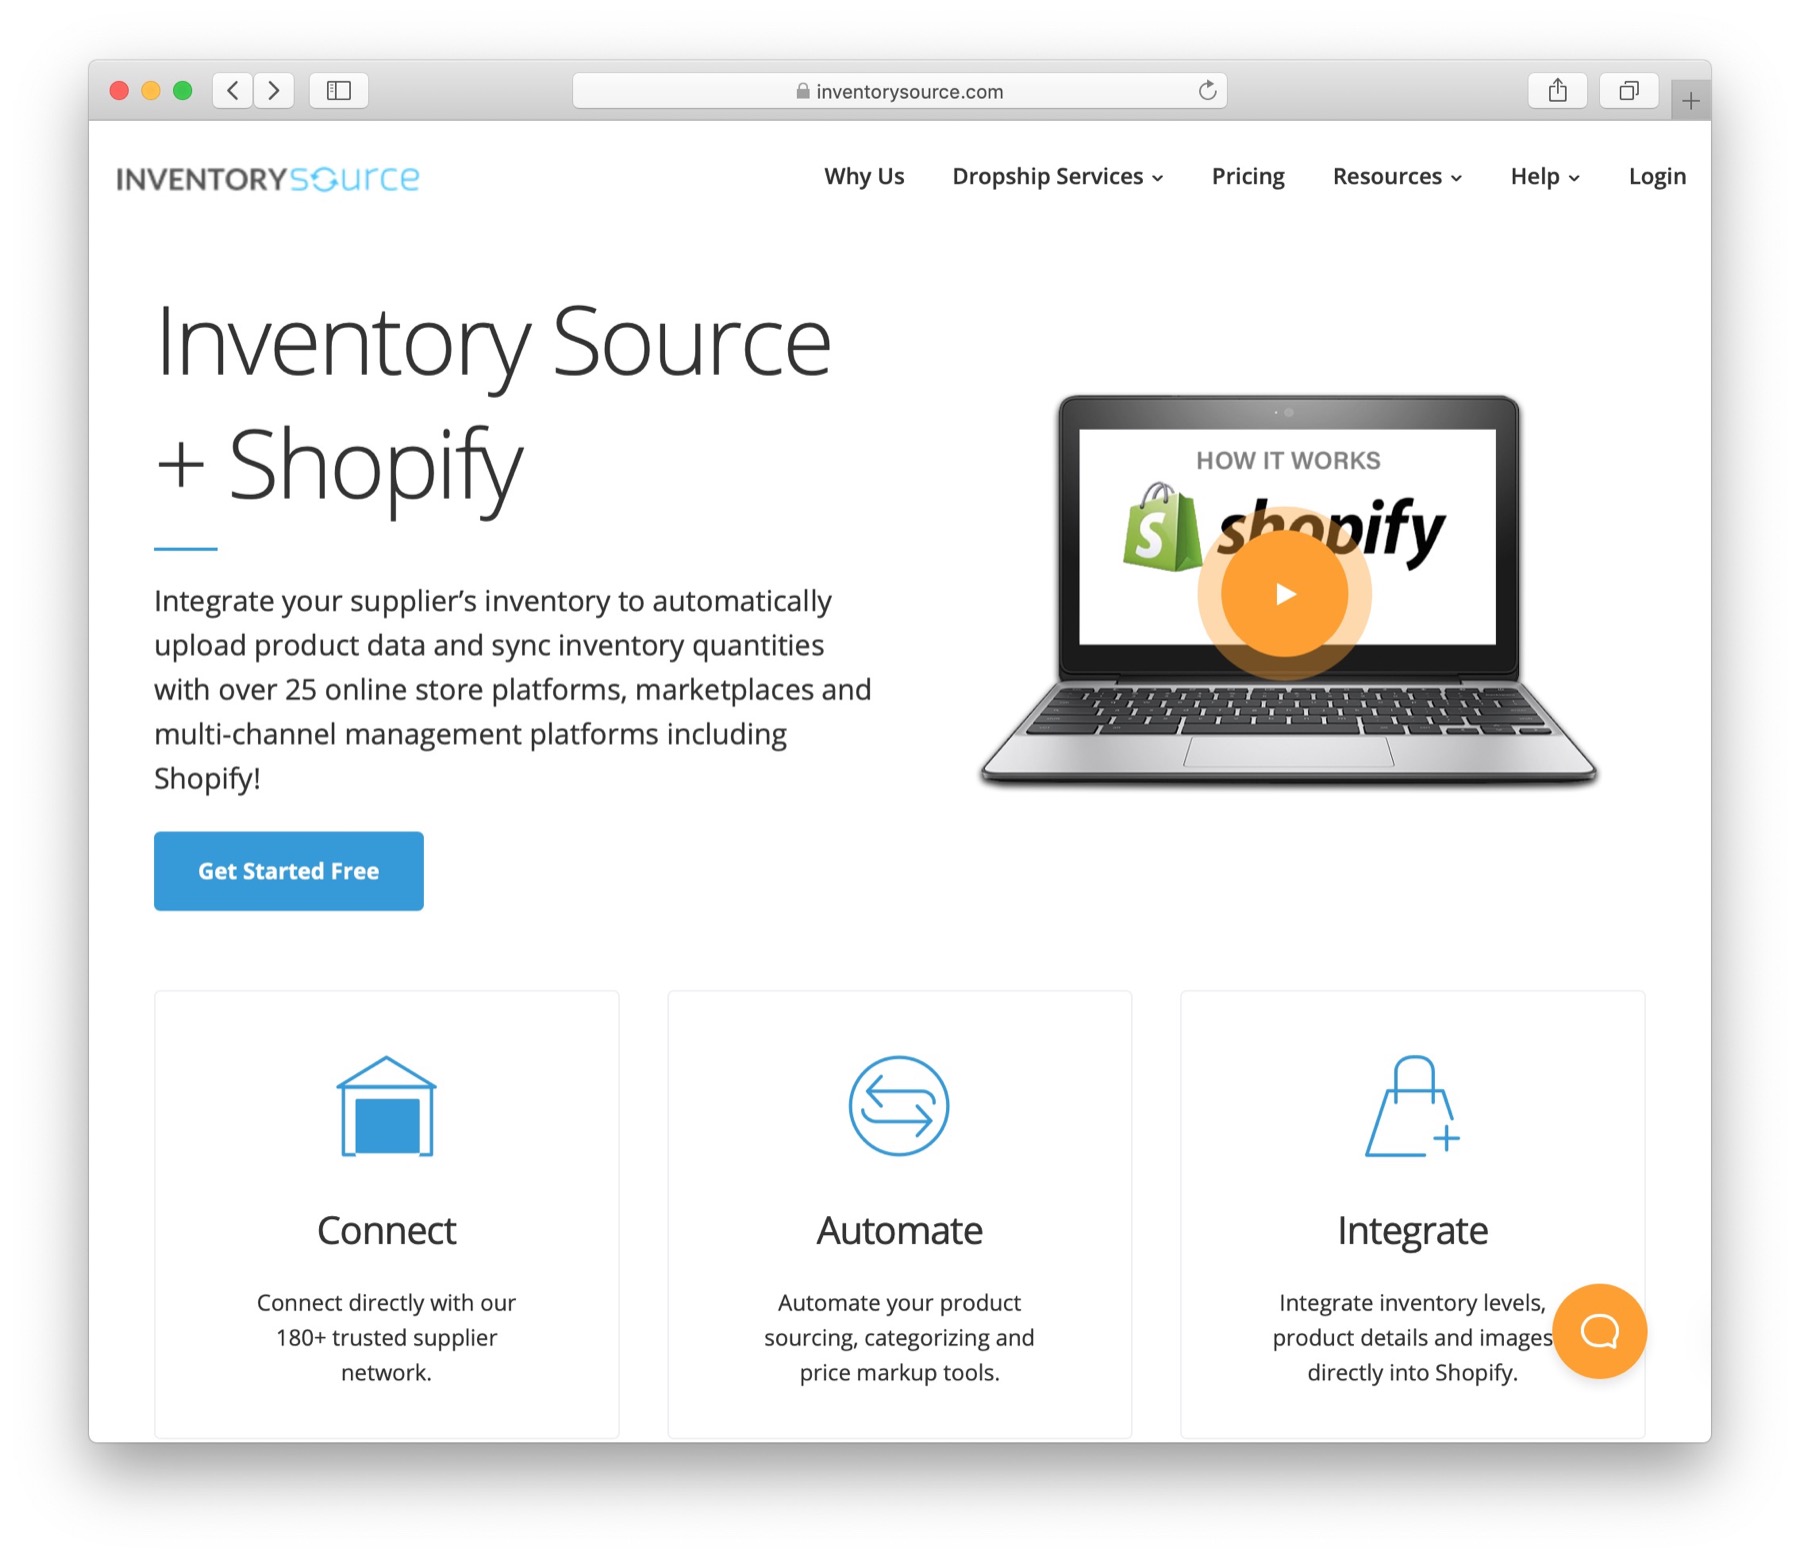
Inventory Source has gained some traction in the dropshipping world for its ability to list your products to not only Shopify but to other marketplaces such as Amazon and eBay.
In fact, over 20 different ecommerce platforms are supported, giving you more flexibility and reach with your customers.
Inventory Source gives you access to more than 180 pre-integrated suppliers (also from the US) and also allows you to add your own suppliers.
All product data is automatically uploaded, and connected to inventory syncing. Then, you can manage your catalog using Inventory Source's cataloging and customization tools.
Another great thing about Inventory Source is that they don't charge any middleman fees. All you pay is for the monthly subscription to Inventory Source.
The product prices that you get come from the suppliers directly.
What makes Inventory Source one of the best Shopify dropshipping apps?
- The dropshipping network from Inventory Source has over 180 suppliers with dozens of categories for you to choose from.
- The automation tools and management areas are fairly easy to understand and move around in.
- Inventory Source has a free account with access to all suppliers and niches.
- You can even add custom or private integrations if you upgrade to one of the paid plans.
- The customer support is willing to work with you on many facets of your ecommerce business, including backorders and returns.
👉 Read our Inventory Source review.
5. Printify
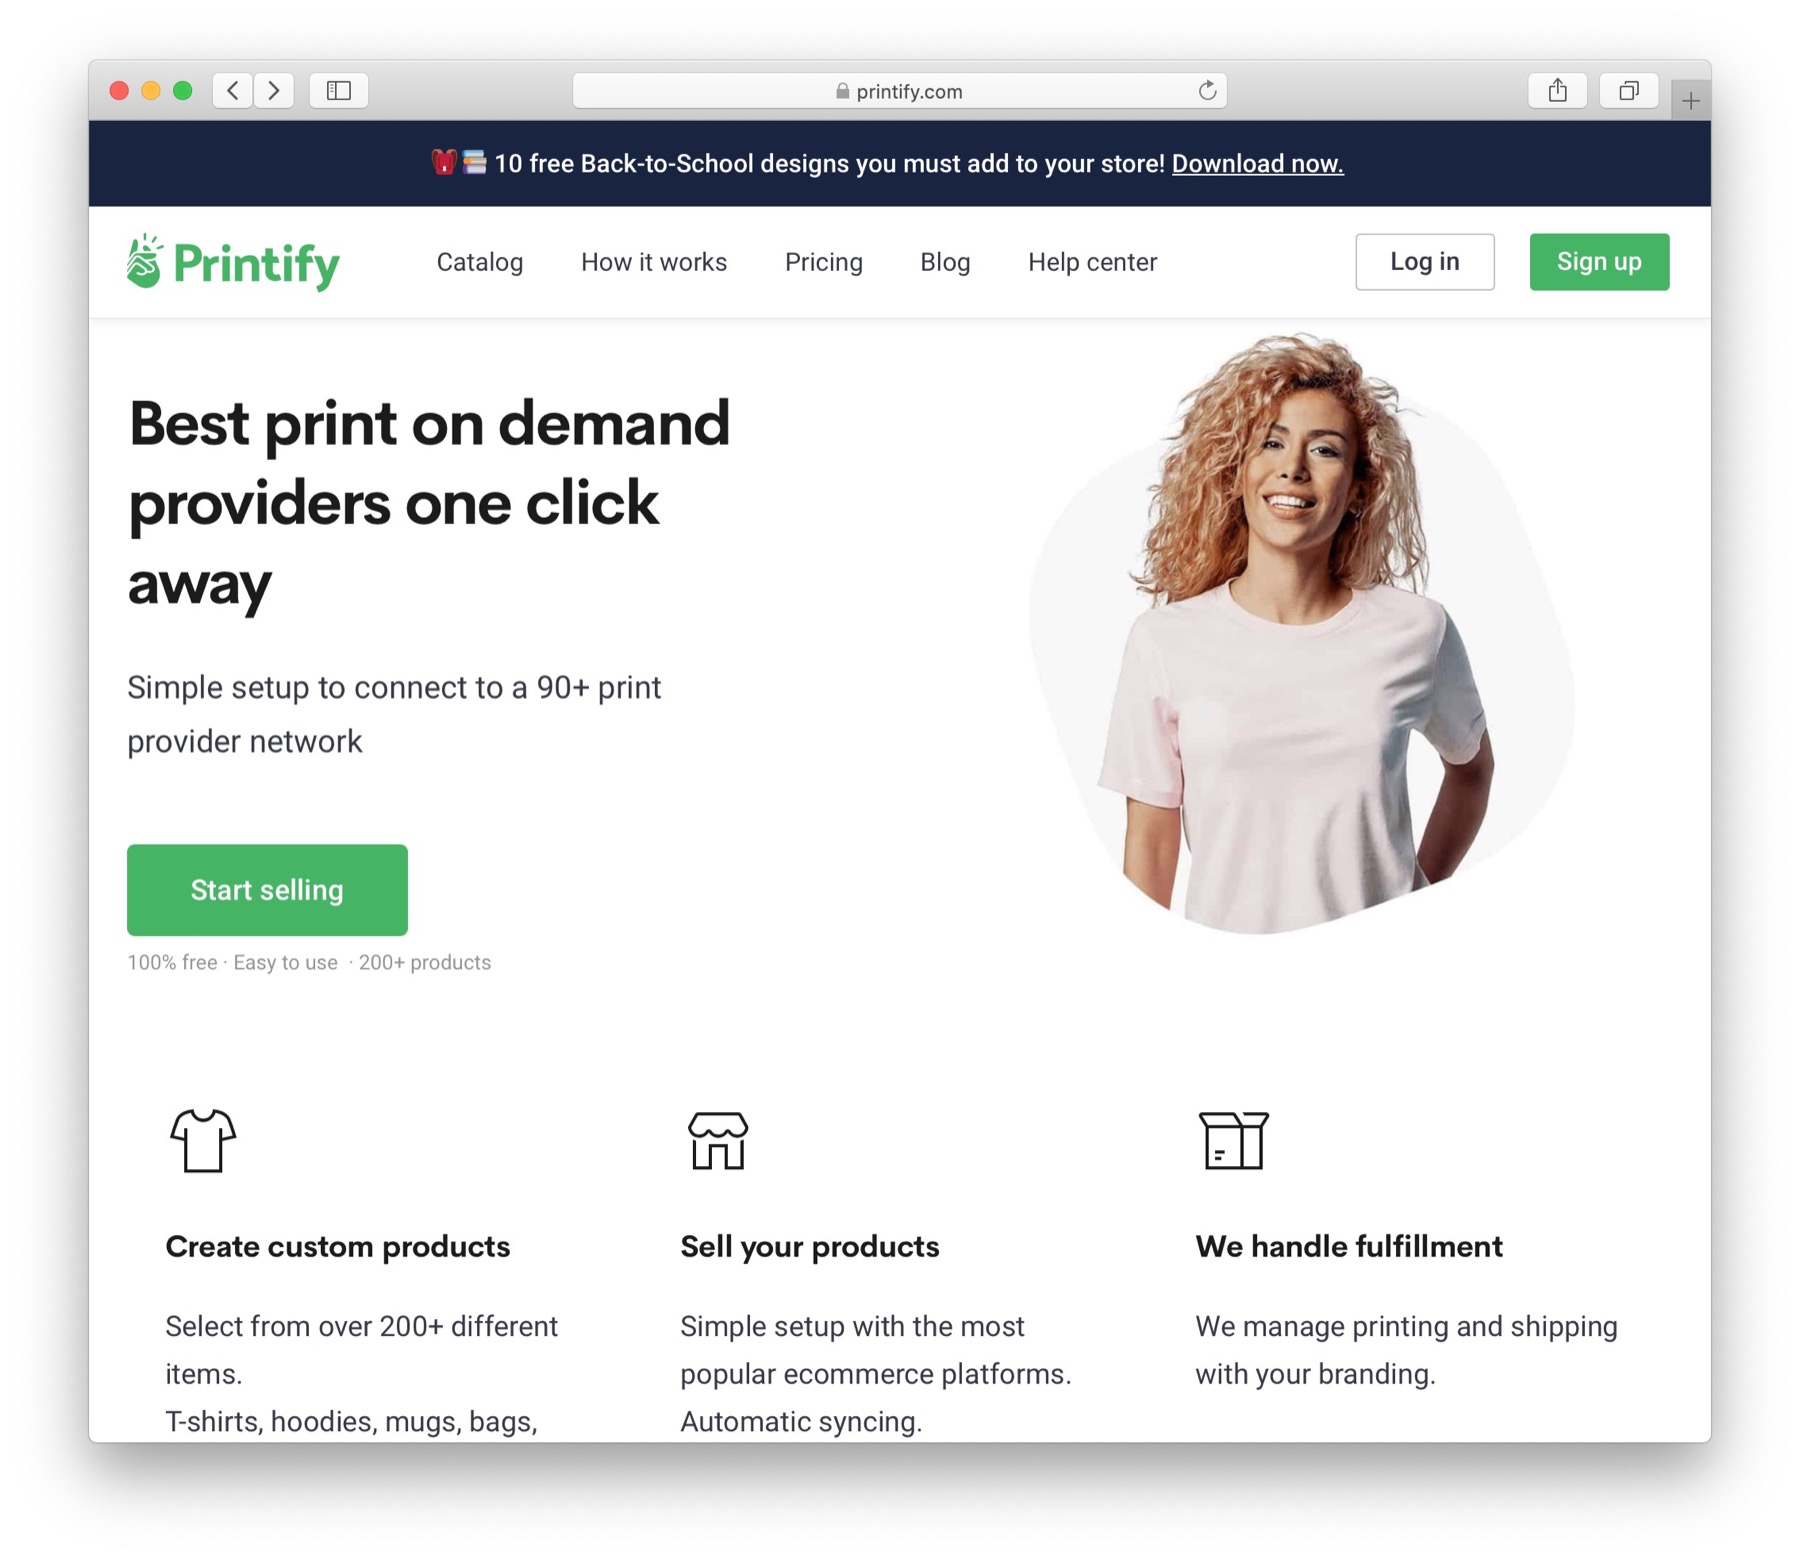
Printify (read our full Printify review) is an alternative to Printful. From your customer's point of view, they deliver a very similar product – shirts, accessories, mugs, phone cases, and other items with your designs on them.
Printify connects you to a network of 90+ print providers, and there are 200+ different items to choose from in total.
Apart from selling via Shopify, you can also offer your products via Etsy and WooCommerce, with eBay support coming soon.
If you plan on selling custom printed products and dropshipping them, we would recommend trying out both Printful and Printify to see which one gives you better returns and more sales. Neither company will hold your business hostage, so you can test them out for a period of time before making a final decision.
That being said, Printify does come with both free and paid plans.
So it's not just the product fee that you have to pay when selling (Printful doesn't have any subscription fees).
What makes Printify one of the best Shopify dropshipping apps?
- You get to choose from over 200 custom products on Printify.
- Printify has a large network of printers so that you're always getting the highest quality products.
- You're able to put your own branding on the packaging.
- The mockup generator is simple to understand and upload your own designs.
- You can also integrate your products with Etsy and WooCommerce.
👉 Read our Printify review

6. Modalyst
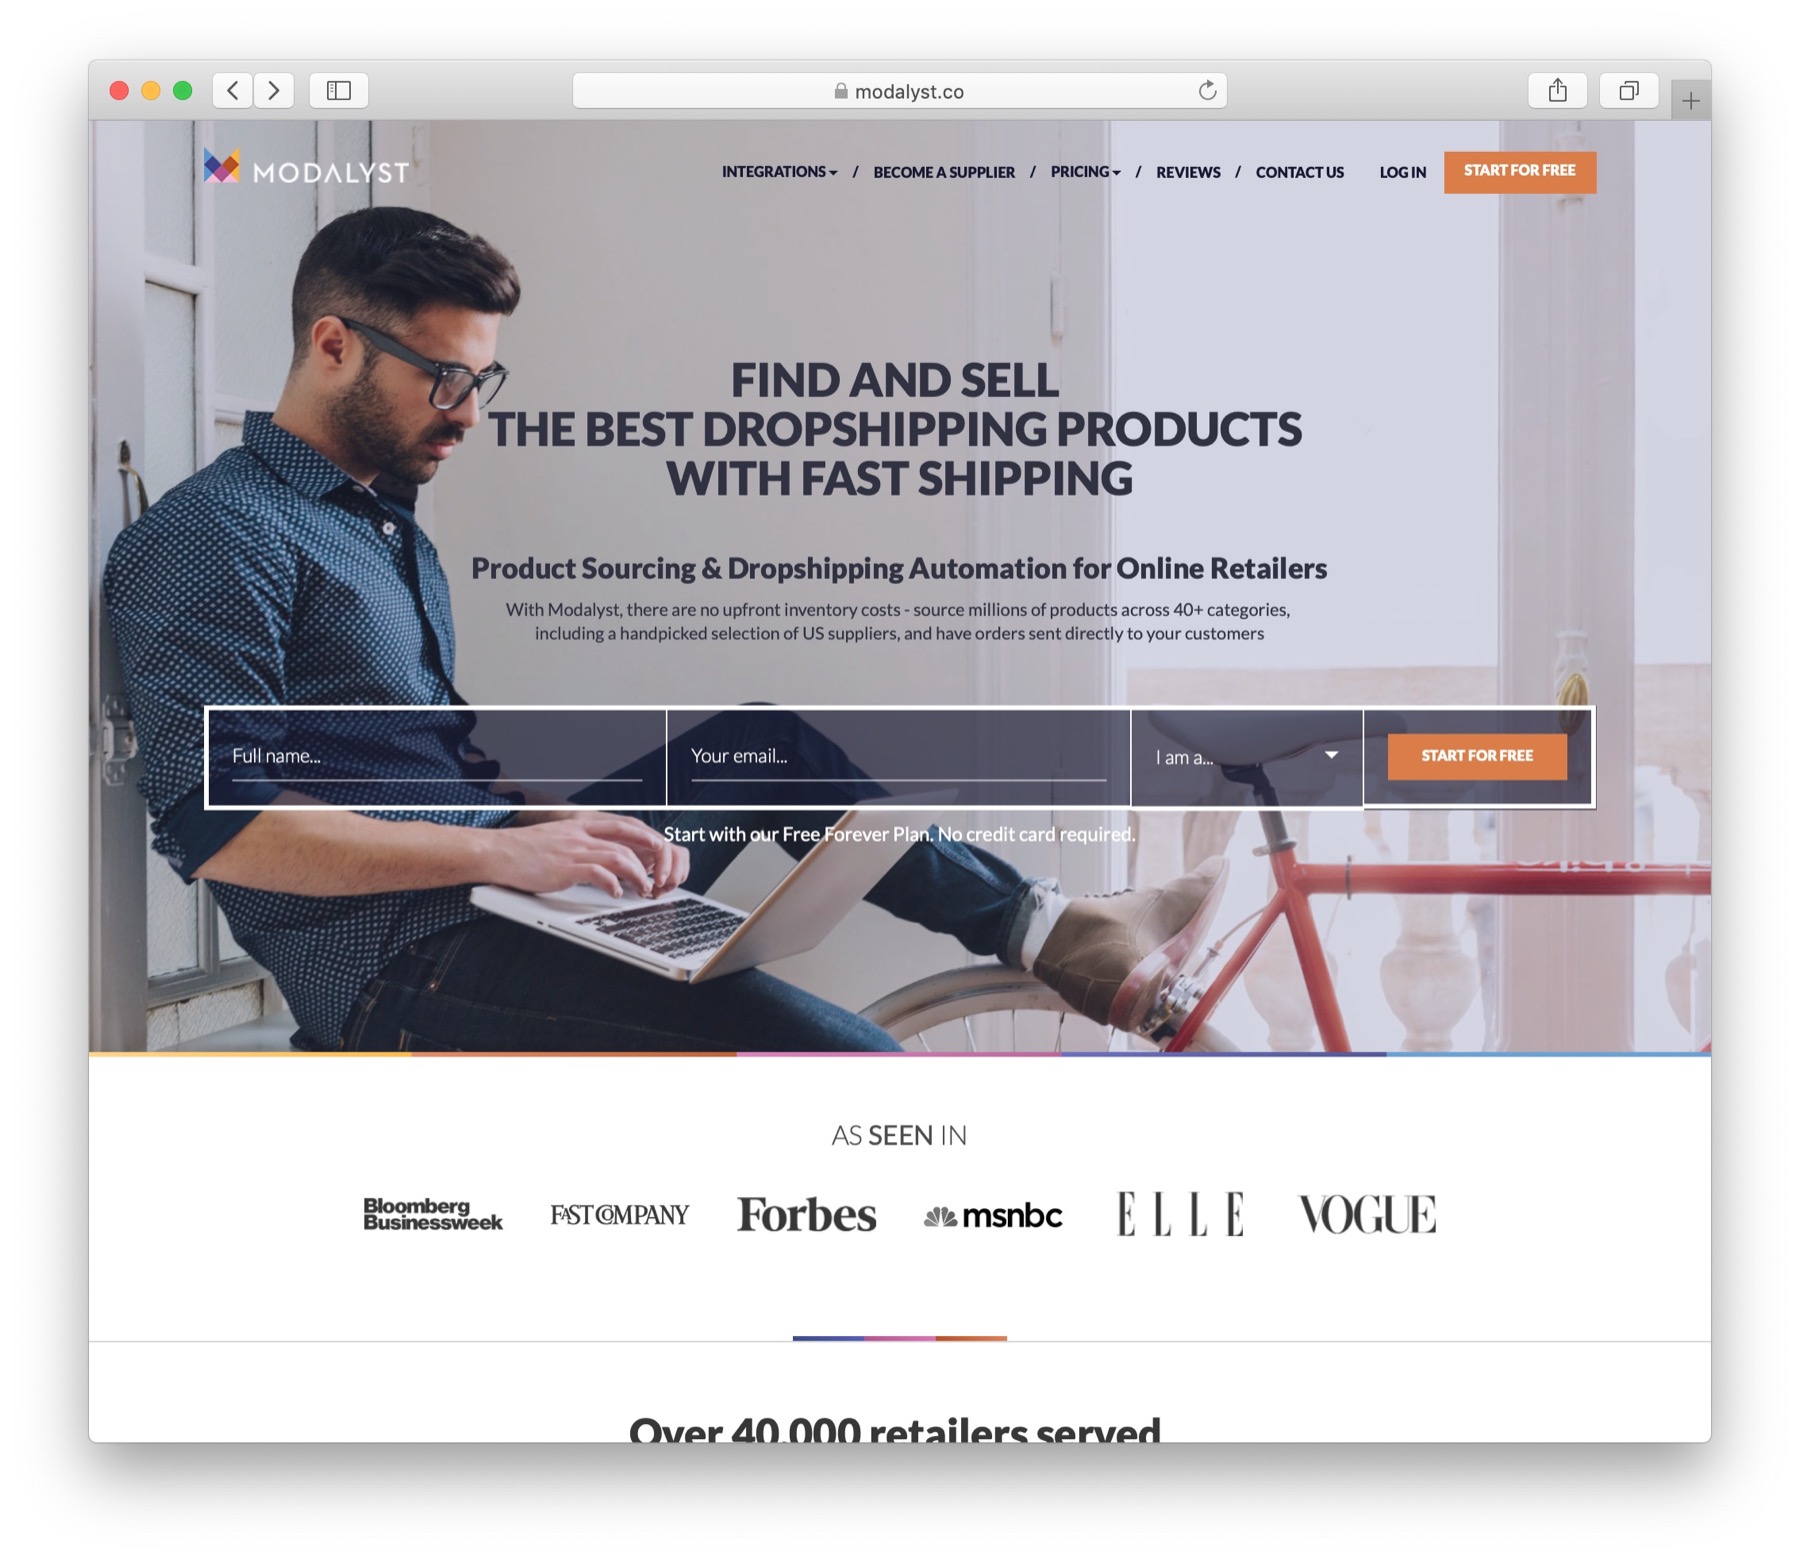
On the surface, Modalyst (read our full Modalyst review) works like some of the other apps on this list – where you search for products and sync them with your online store.
The primary difference is how Modalyst focuses on providing access to name brand suppliers like Calvin Klein, Timberland, and Puma.
Yes, the pricing is much higher than the average Chinese supplier, but you're able to offer the best possible products to your customers. And, if you put in the research, we've found that you can locate many decent items with great margins.
In fact, Modalyst offers a whole curated catalog of suppliers from the US and Europe. Those are products that you're not going to find with any of the other dropshipping apps.
You can also communicate with your suppliers directly and thus build a better relationship with them.
What makes Modalyst one of the best Shopify dropshipping apps?
- Modalyst primarily dropships name brand products, so your customers don't get stuck with questionable items from random suppliers.
- There are also independent brands that you can partner with, which is a great way to boost margins (since the perceived value of these products is higher).
- The shipping is faster than most Shopify dropshipping apps. You also get free shipping to the United States, since most of the dropshippers are from the US.
- Modalyst provides an excellent tool for pricing rules. It helps with automatically setting and changing prices based on how much profit you'd like to make.
- Has a free plan for up to 25 products per month.
👉 Read our Modalyst review
7. Spreadr App
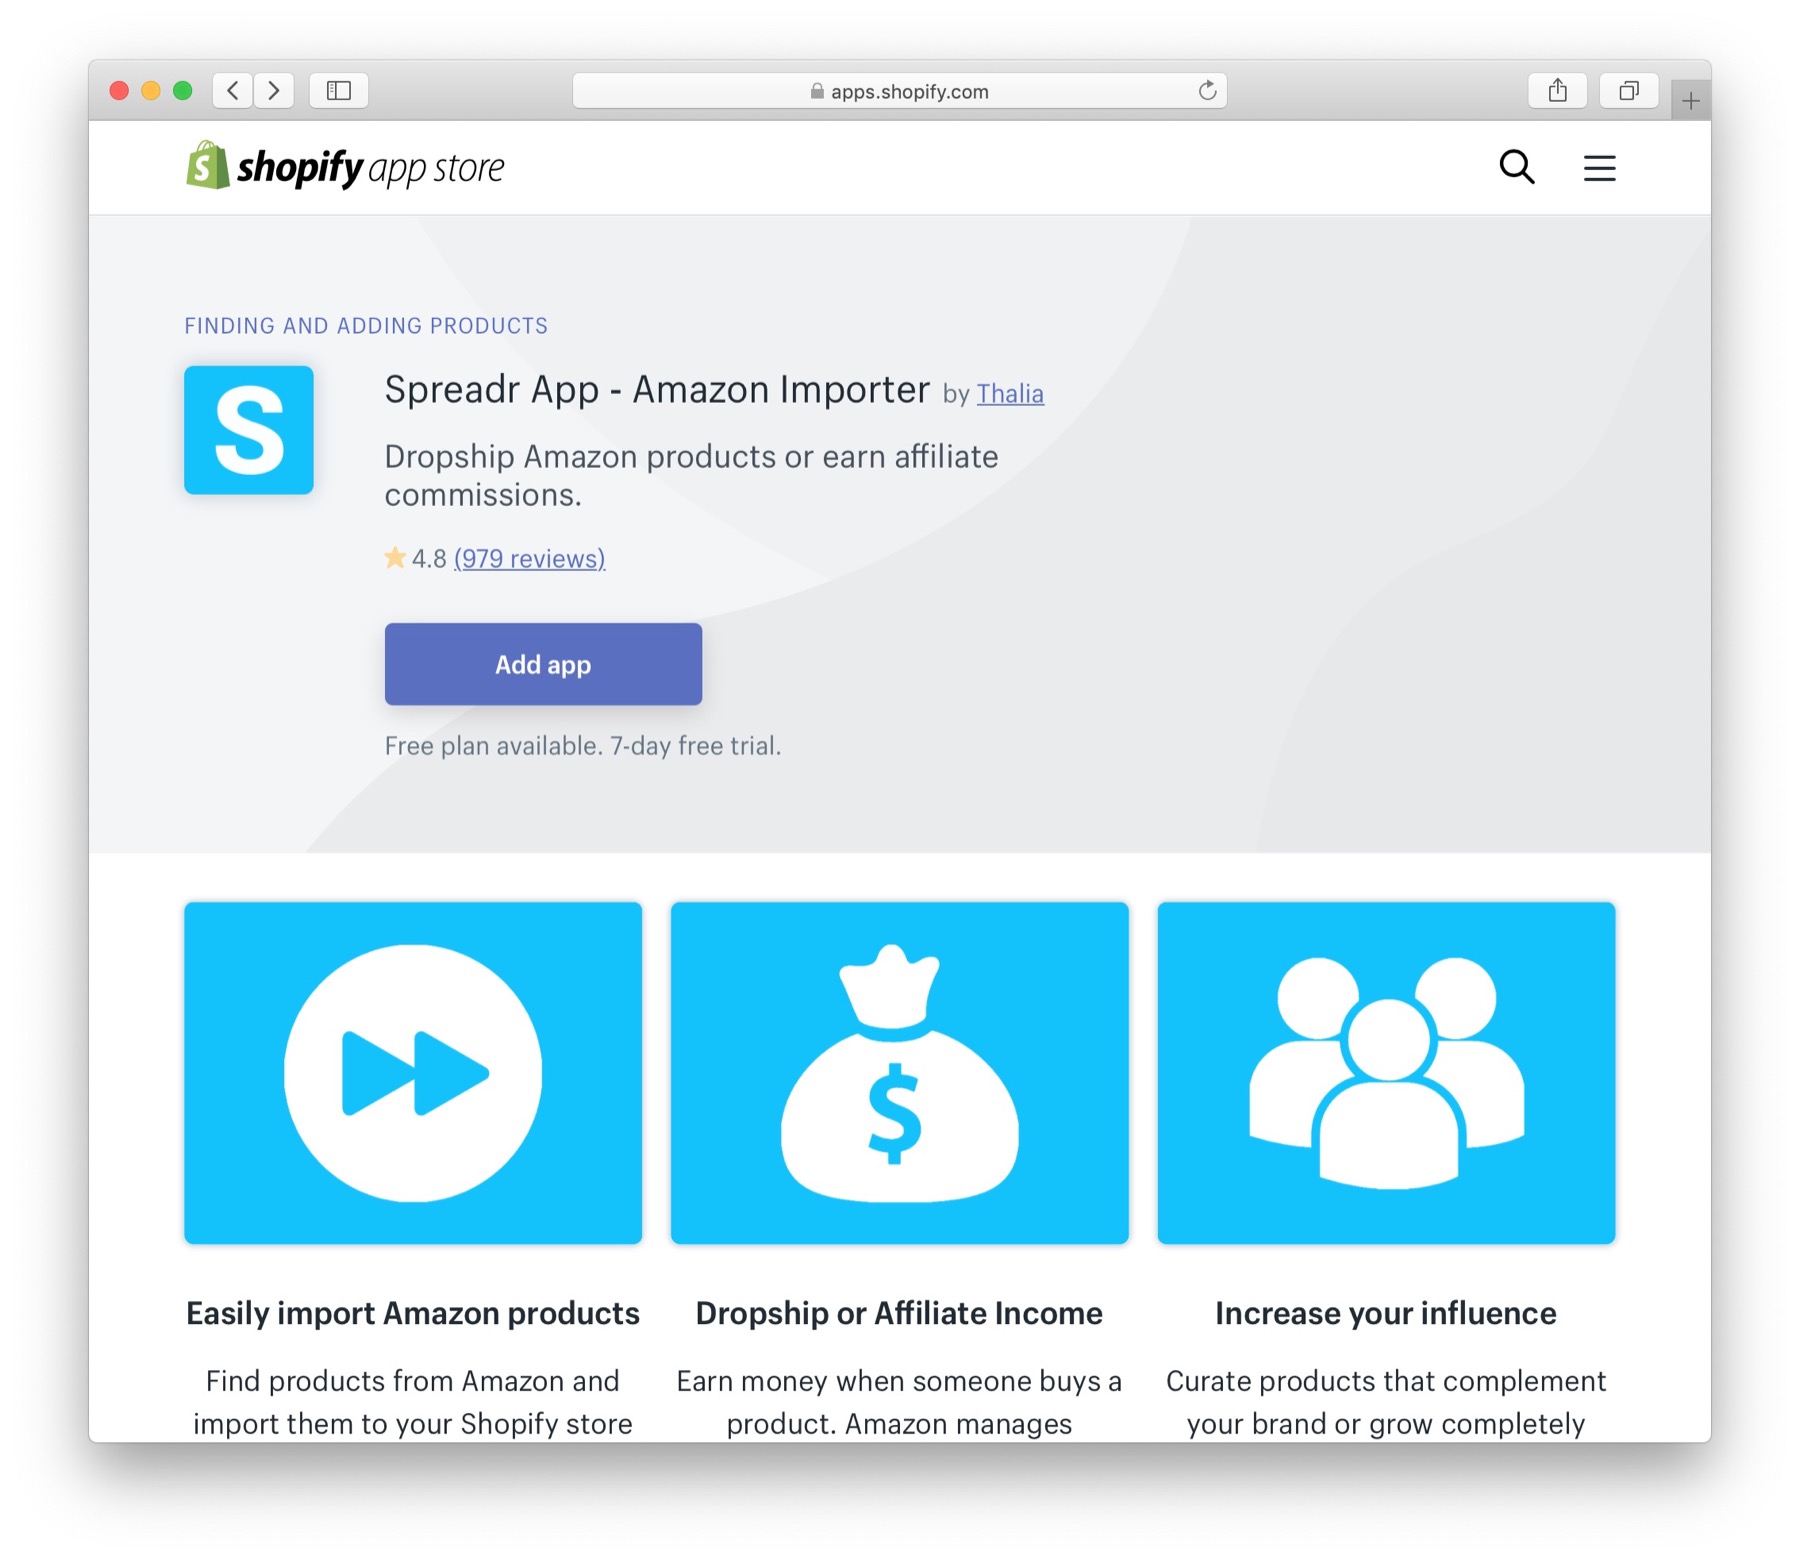
The Spreadr App takes an interesting approach to dropshipping. Instead of letting you connect with different suppliers and import their products to your Shopify store, Spreadr only links you directly to Amazon and lets you list products as an affiliate.
The difference here is that you're not as much working with suppliers but rather promote their products on your store for a small cut – a commission.
To make it all work, you first have to sign up to Amazon's affiliate program. The typical commission level is at 4%.
While Spreadr does indeed offer a more classic dropshipping setup as well – where you can collect orders in your store and have them fulfilled by Amazon suppliers – that is probably not the most optimized type of a dropshipping business setup. You're better off using other apps for that.
What makes Spreadr one of the best Shopify dropshipping apps?
- The app gives you a unique opportunity to view items that are already selling well on Amazon.
- There's a quick import tool, where you can search on Amazon and instantly add products to your store for selling.
- Dropshipping is allowed, but you can also decide to simply take an affiliate commission if you'd like.
8. Gooten
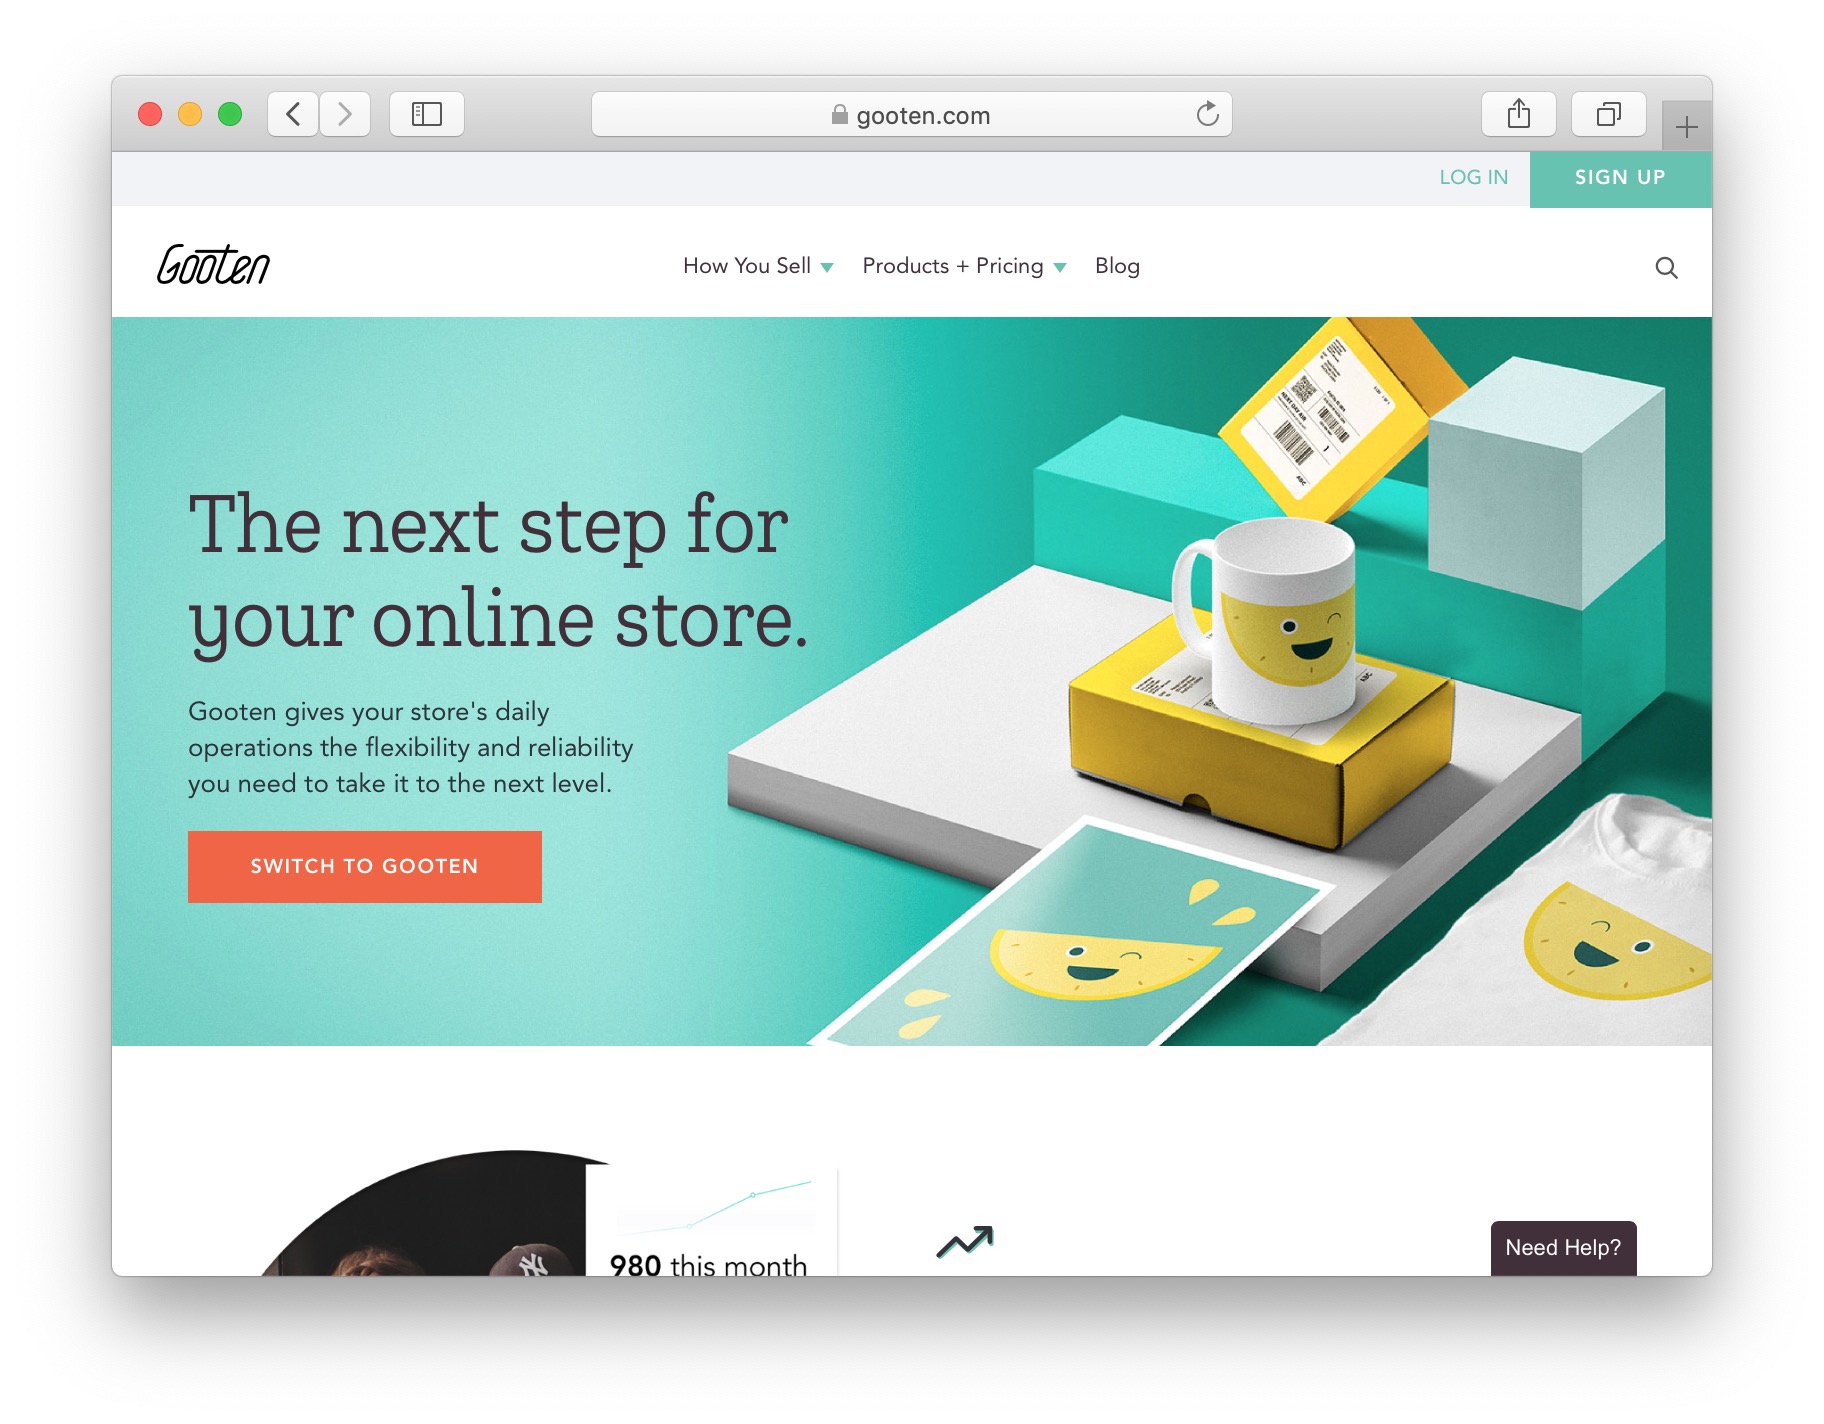
We have a love/hate relationship with Gooten. On the one hand, it has by far the largest selection of custom products for you to sell in your Shopify dropshipping store. It's all custom, so you're able to find and design more unique things like totes, phone cases, and more. It's better than Printify and Printful in terms of the selection.
However, these products come from a wide range of printers, so if your customer adds five items from five different printers, they receive five boxes, and have to pay for shipping on all of them separately.
That being said, the product catalog is really impressive, with a lot of unique items in it. For example, you can sell things like baby towels, bed comforters, printed canvas, notebooks, journals, travel bags, and, of course, the obvious stuff like t-shirts and mugs.
Just like with Printful, with this Shopify Dropshipping app you pay only for the products themselves and there are no monthly fees involved.
What makes Gooten one of the best Shopify dropshipping apps?
- You receive custom printing and dropshipping all in one package.
- The collection of products is impressive, and the product categories are unique.
- Monitoring orders is easy for both the customer and merchant.
- The company is located in New York City, so you should be able to expect faster shipping in the United States.
- The app is completely free to install, so you only pay for when you make a sale.
9. Dripshipper
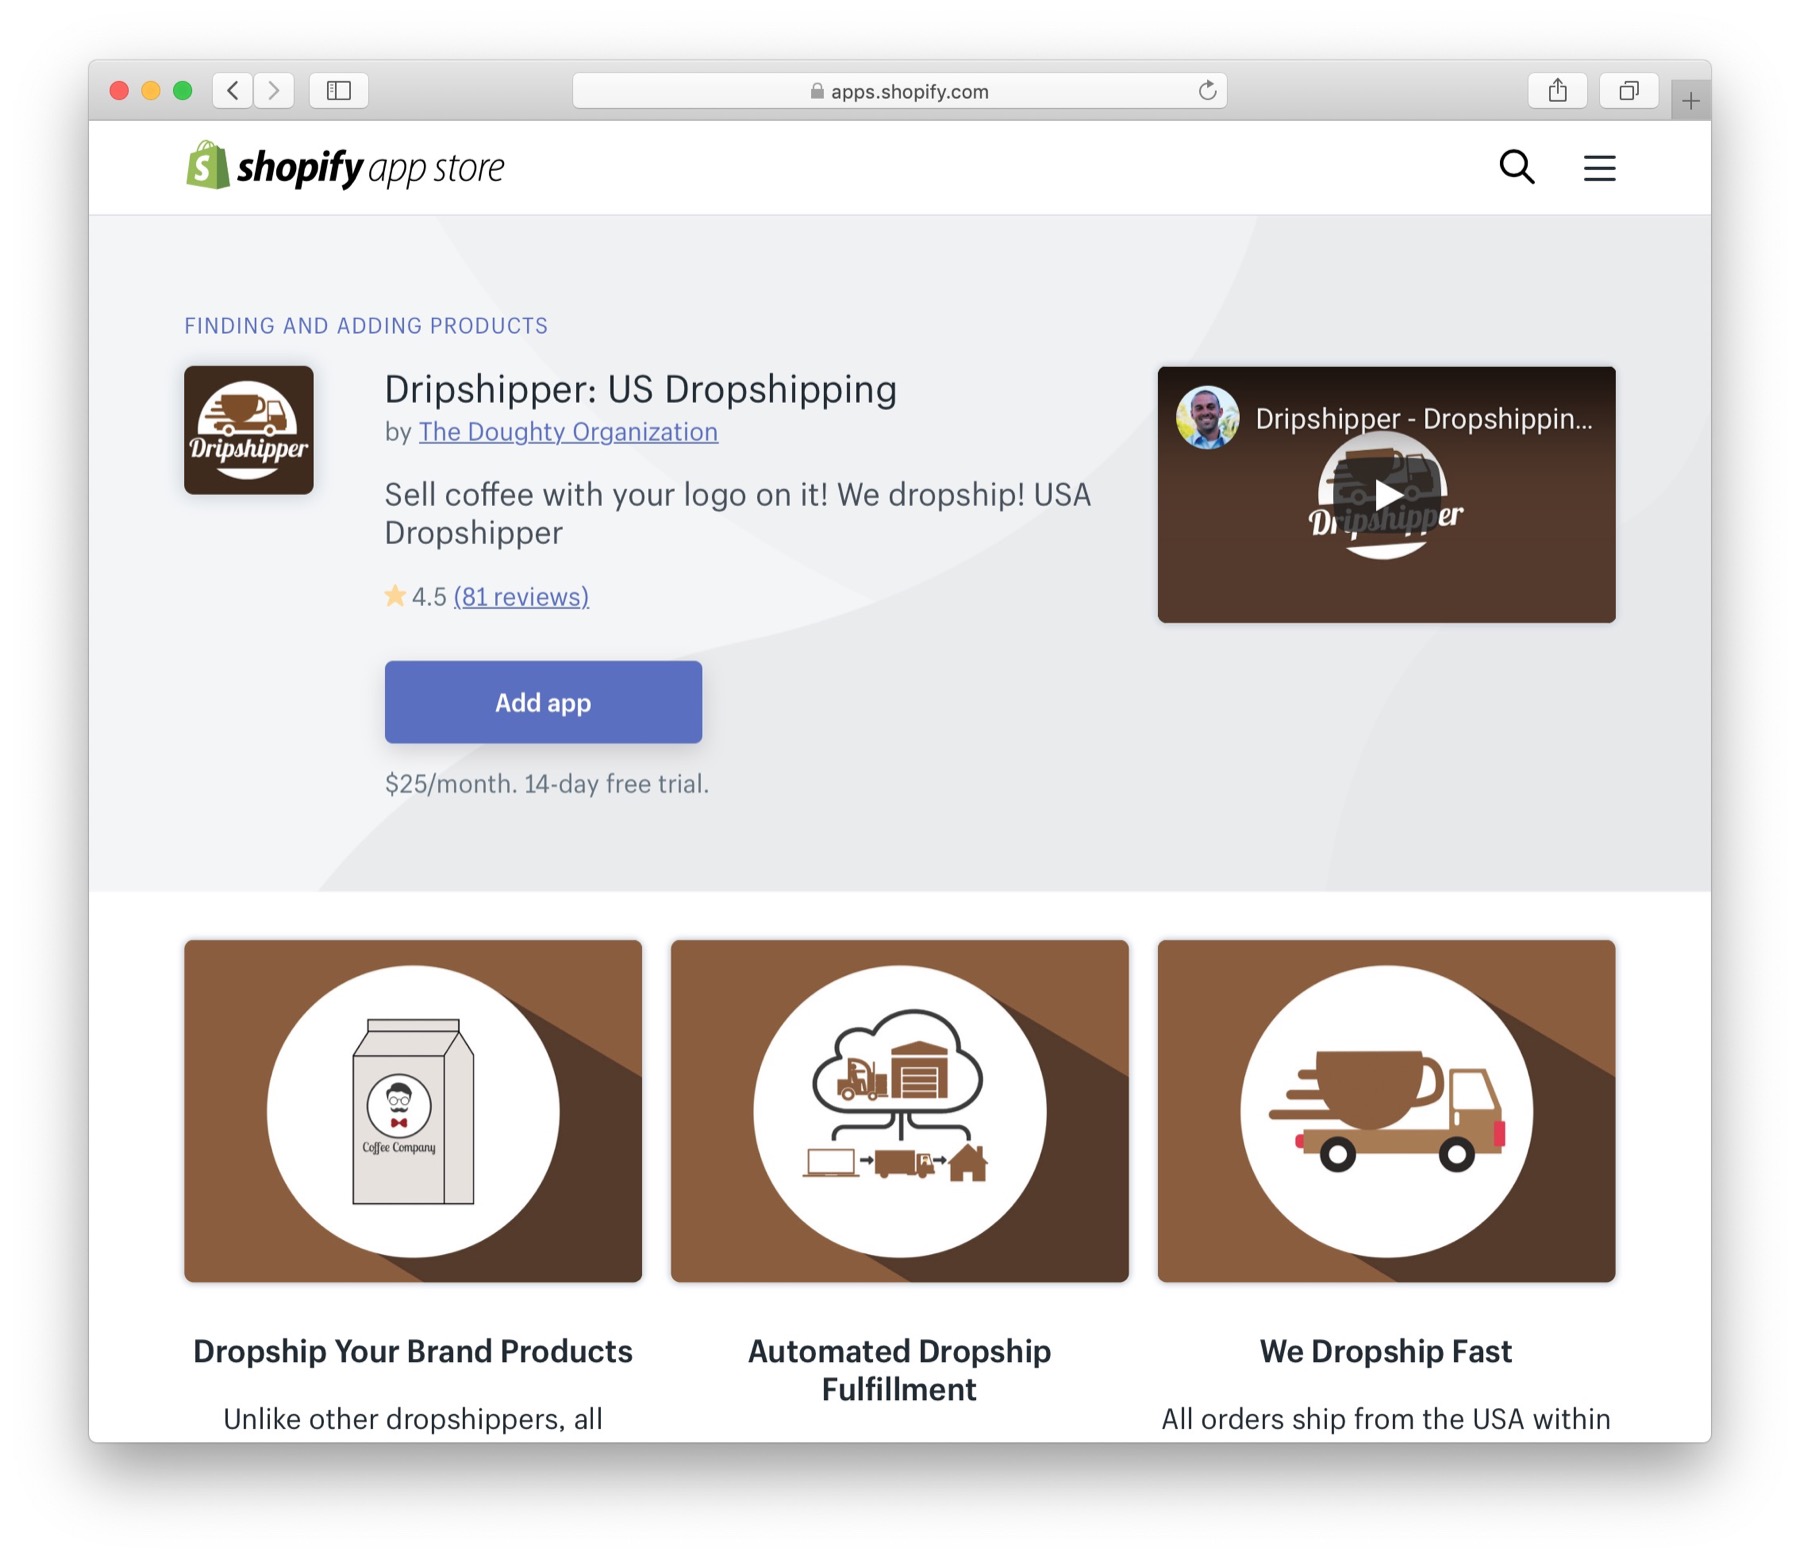
Dripshipper is a very niche Shopify dropshipping app. Where most of the other apps on this list allow you to select from a number of categories, Dripshipper is for coffee only.
This means exactly what you're thinking, yes, you can sell your own branded coffee with your own logo on it. Ever wanted to be a coffee mogul? Here's your chance.
All jokes aside, Dripshipper has very good reviews and the app has a strong following of users. It seems that if you want to dropship coffee via Shopify then Dripshipper is the way to do it.
The app lets you design your own coffee and coffee packaging, along with the labels and other information on the package. The orders are then shipped out to your customers when you make a sale.
What makes Dripshipper one of the best Shopify dropshipping apps?
- It's hyper niche – your perfect dropshipping app if you want to enter the coffee business.
- The shipping time is within three days for US customers.
- You only have to focus on one niche, so your product management is easier to understand.
- The packaging and coffee design tools are sleek and easy to understand.
- Everything on your coffee is branded to your company.
- There's a free 14-day trial.
Which of these best Shopify dropshipping apps is the one for you? 🏆
This all depends on your needs. But here are some scenarios along with their best dropshipping option in our opinion:
- If you want to sell items worldwide with access to a wide catalog of suppliers, your best bet is likely going to be DSers. No matter if you want to sell just one type of products or a wider selection of them, you'll have no problem finding your suppliers on Oberlo.
- If you want to sell items coming from suppliers from the US or Europe, try out Spocket.
- If you want to sell products by name brand suppliers, try out Modalyst.
- For print-on-demand goods, go for either Printful, Printify, or Gooten.
- Want to get started quickly and sell Amazon products? Go with Spreadr, but this will be an affiliate arrangement rather than dropshipping.
- Lastly, if you want to sell coffee, Dripshipper!
With the apps out of the way, let's now talk about how to actually go about building your own Shopify dropshipping store.
Shopify Dropshipping – Where does Shopify come into the picture?
In short, your dropshipping store has to run on some online platform. Shopify is that online platform. In fact, it's the best ecommerce platform of them all.
We like Shopify as an ecommerce platform because of its affordability and the “everything in one place” interface.
You receive access to beautiful design tools, thousands of apps, and payment processing settings that help you secure your transactions and expedite the checkout process. It's also one of the best platforms for creating a dropshipping business.
Seeing as how this is so intriguing to new online small businesses and even large companies, we want to outline some of the best Shopify dropshipping apps to start you on the right path.
Shopify has dozens of such apps, some of which provide diverse product selections, and others that focus on one or two types of products.
What to look for (and avoid) when picking the best Shopify dropshipping apps
Not all dropshipping apps are created equal. In fact, the dropshipping industry has plenty of downsides, especially if you partner with the wrong supplier or app.
Here's what to look out for:
- 🛍️ The best Shopify dropshipping apps let you choose products directly from Shopify or instantly sync your chosen products with your shop.
- 🌟 Look for apps that curate high-quality suppliers. This involves some research, but you can usually find ratings and reviews on the suppliers.
- ⌛ A big problem with dropshipping is longer shipping times. Look for the best apps, with suppliers from all over the world (or at least near where your customers are) that have good product reviews. For instance, a merchant based in Chicago would benefit from finding suppliers in the US. Otherwise, your customers will potentially wait a month to receive deliveries from places like Vietnam and China.
- 💸 Another difficulty with dropshipping is keeping prices low but profit margins to a point where you can still make money. Since you're not handling shipping or storage, dropshippers tend to charge you more than wholesale pricing. The key here is to research suppliers on each app to see if you can actually make a profit without gouging your customers.
- ❤️ Does the dropshipping app provide great customer support? You'll definitely need it if a customer is angry with you or if people start making returns.
- 🔬 Are you able to get product samples? This is one of the only ways to maintain quality control with dropshipping.
- 📛 Are you able to put your own branding on the packaging? You don't want for your products to end up getting shipped without any of your branding on the box. This will be confusing to the customers since they won't recognize the foreign sounding names on the package. They might not even accept an alien package like that.
Ready to Start Your Shopify Dropshipping Business?
That is it, you have just learned what the top 10 Shopify dropshipping apps are and how to build your own Shopify dropshipping store! 🍾🥂
If you have any questions, or would like to learn more about running and promoting your store later on, check out some of the other guides on this site.
Particularly, you should give these a read:
- Top 50 Ecommerce Marketing Tips to Outrank Competitors
- Best Advertising Strategies For Online Shops
- 5 Shopify SEO Sins You May Not Know About
- The Best Email Marketing Services Reviewed and Compared
- Alibaba vs AliExpress: How They Compare for Merchants and Consumers
- The Ultimate Dropshipping Guide: The Best Way to Setup a Drop shipping Business Quickly


great information, thanks for sharing this such a useful information. thanks, Admin
You’re welcome Uneeb!
TOP
I suggest you take a look on new app Reviify.
Reviify is the fastest way to get your shop up and running with minimal frustration. Simply sign up, add your details, and let the app handle your review management.
I am looking for help with dropshipping from my own vendors to my clients. I have my own sources and ship primarily to a single market where I have a receiving company accept and deliver furniture. I need a way to ship the same furniture directly to my customers.
can I start drop shipping from anywhere in the world Kindly Reply.
Basically yes 😉