Choosing an ecommerce platform is far from an easy decision. Some of them offer better pricing, while others are known for beautiful templates. From Shopify to WooCommerce and Squarespace to BigCommerce, they all have pros and cons.
But if you'd like to guarantee a smooth interface and ensure that you're getting incredible themes, it seems like you can't go wrong with BigCommerce. The pricing is pretty competitive, and BigCommerce has been known to help you grow into a larger company.
In this BigCommerce tutorial, we'll talk about how to launch an online store with BigCommerce, along with some tips for adding products and testing your store.
The Ultimate BigCommerce Tutorial on Launching an Online Store
BigCommerce has a 14-day free trial without requiring a credit card. Therefore, you can navigate to the BigCommerce website and begin seeing if it's the right platform for your business.
Step 1 of our BigCommerce Tutorial: Create an Account with Bigcommerce
Begin the process by going to the BigCommerce website. Feel free to look at the wide range of resources and support documents provided on the site.
You can also check out things like pricing and features, guiding you to make an informed decision on whether or not BigCommerce is right for you.
After you've decided you like Bigcommerce, it's time to walk through our BigCommerce tutorial so that you don't make any mistakes along the way.
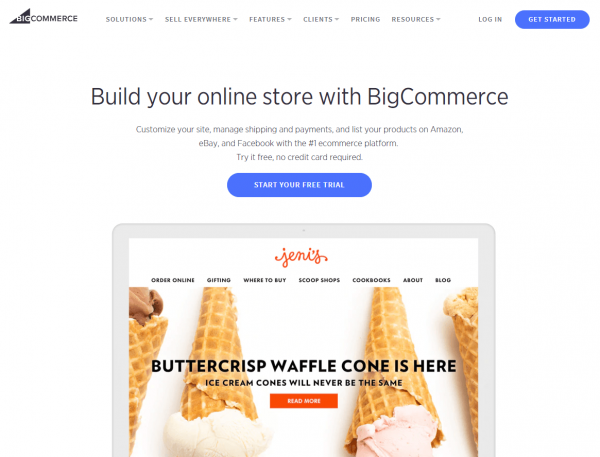
Once you're on the BigCommerce homepage, click on the Get Started button. You'll notice a few other buttons that do the same thing. For instance, you can choose the Start Your Free Trial button and it'll lead you to the exact same page.
Now it's time to create your BigCommerce account. The first window asks for your email address. Make sure the address is accurate, because some important information (like your login details and website link) is sent to that particular email address.
Keep in mind, you can change this email later in your profile. Now, click on the Continue to Store Details button.
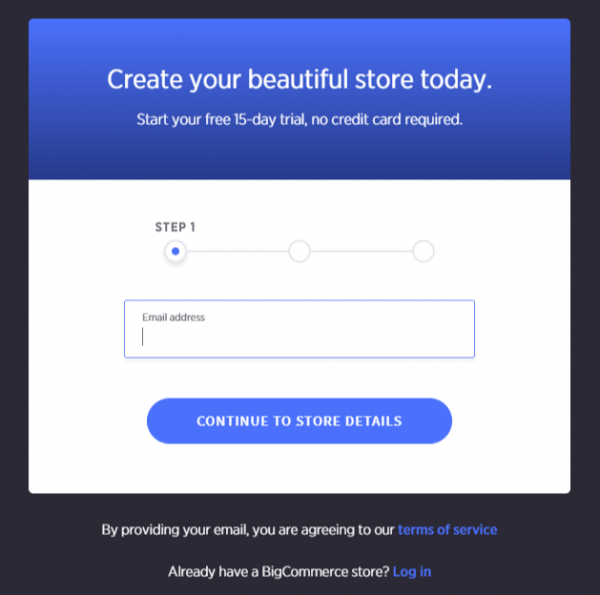
What's great about BigCommerce is that it doesn't ask you for any credit card information to launch an account. This way, you're able to test out the primary features, then publish your store when ready.
In the next window, type in your desired store name. If you're not sure what to call your online store, try to think of something that's going to be close to the final result. Just remember to adjust this when you actually think of a name–since this name is displayed on some areas of your website.
Create a password for your account. You'll log in to your BigCommerce dashboard with your email address and password.
Type in your first name and last name in the fields that ask for it. BigCommerce also requests that you type in your phone number.
In my experience, this usually means that you might get a call from a salesperson or someone from the technical support team that wants to help make sure that your site is launched properly. Finally, BigCommerce asks about the size of your online business.
This doesn't really affect how your account works, so you can say that you have no sales or specify how much in sales you've had on an old site. After that, click on the Create Your Store button to proceed.

You can skip the next box if you would like, but for this BigCommerce tutorial, we're going to walk through all of the steps just so you know exactly what might be worth filling in.
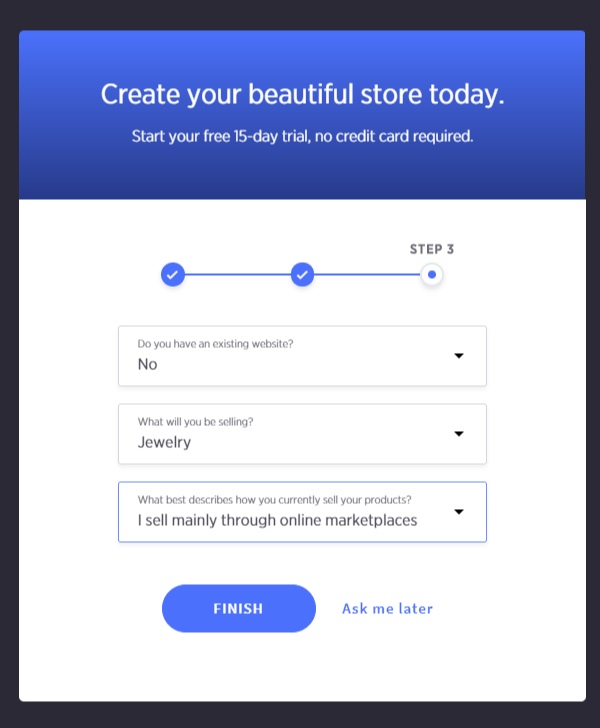
The first drop-down menu asks if you already have an existing website or not.
The reason this might be valuable is because the BigCommerce tech support team might actually call you and ask if you would like some assistance in transferring your website to the BigCommerce platform. If you don't have an existing website, simply select the “No” option and you can move on.
You can also select what you'll be selling on your website. For example, you may select jewelry or clothing or anything else from the long list of industries.
Finally, BigCommerce asks what best describes how you currently sell your products. If you primarily sell through online marketplaces like Amazon and Etsy, feel free to specify that.
If you've never sold anything online in your life, you can mark that down as well. After that, click on the Finish button to get started building your store.
Step 2: Add a Theme
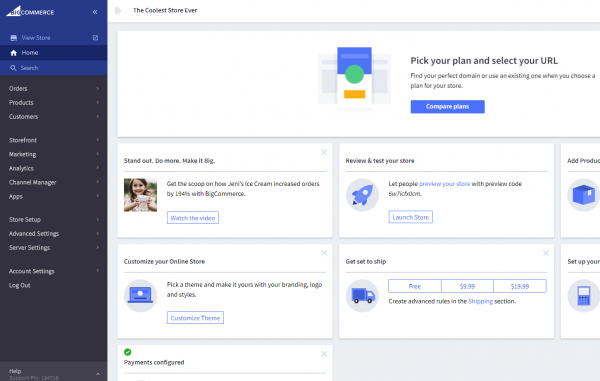
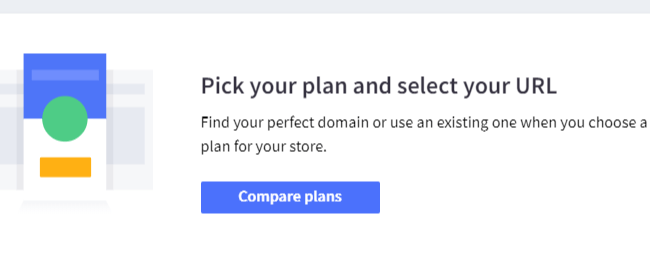
You'll notice a few things when you land on the BigCommerce dashboard. For instance, you have the option to pick your BigCommerce plan and choose a URL for publishing the site online.
To start off, I would recommend constructing your site and getting used to the settings before you start paying for Bigcommerce.
What's great about the dashboard is that all of the necessary requirements for a store are outlined on the main page.
So, you can click on the button to customize your theme, or you might start by adding products. You'll also find some helpful support documentation and case studies.
In this BigCommerce tutorial, we'll begin by adding a theme and customizing that theme to make it look suitable for your own business and industry.
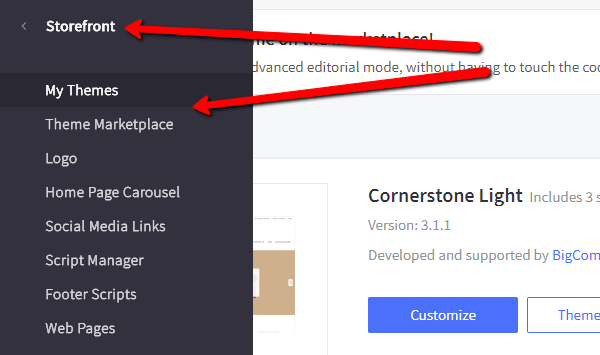
Navigate over to the sidebar menu and click on the Storefront option. Then, choose the My Themes tab. This brings you to an area that allows you to select from a wide range of prebuilt themes.
BigCommerce offers dozens of free and paid themes to choose from.
Feel free to change the filter bar so that you can only see free themes or certain themes that are from specific industries. In my opinion, it's best to look at the paid themes, since they are better designed and they seem to have more options that are more suitable for a modern online store.
That being said, some of the free themes are still pretty nice looking and can be helpful for a small startup with a limited budget.
In this tutorial, I'm choosing the fashion and jewelry category, while also picking the filter for free themes. This narrows it down to some decent looking templates that cater only to the industry I want.

What's also interesting is that you don't necessarily need to choose a theme that is built for your industry. If you enjoy designs from a different industry, it's still possible to customize the theme and add all of your products so that it suits your own business.
For example, I noticed one theme that seems to be for selling furniture and another that has coffee products.
Both of them are minimalistic and modern, with plenty of white space–which is exactly what I'm looking for. The only thing I would have to do is swap out the example products for items that I plan on selling.
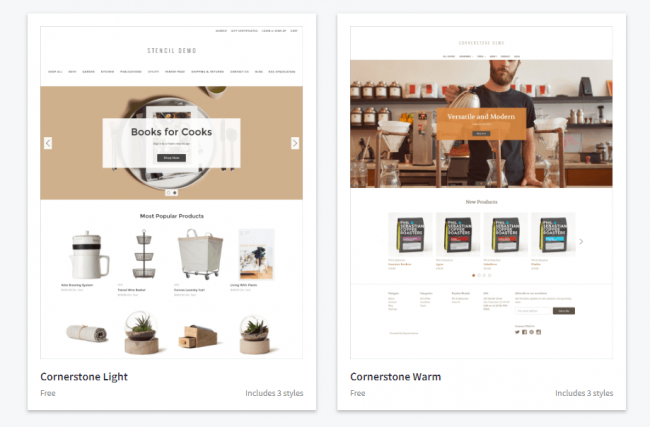
When you find the right theme, click on the View In My Themes button.
Step 3: Customize Your BigCommerce Theme
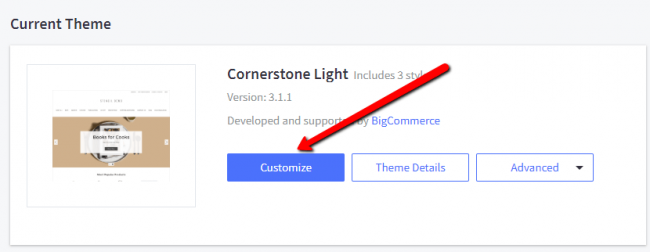
When back in the dashboard, you should now see the theme you just selected as the site's current theme. Click on the Customize button to get started with editing your theme.
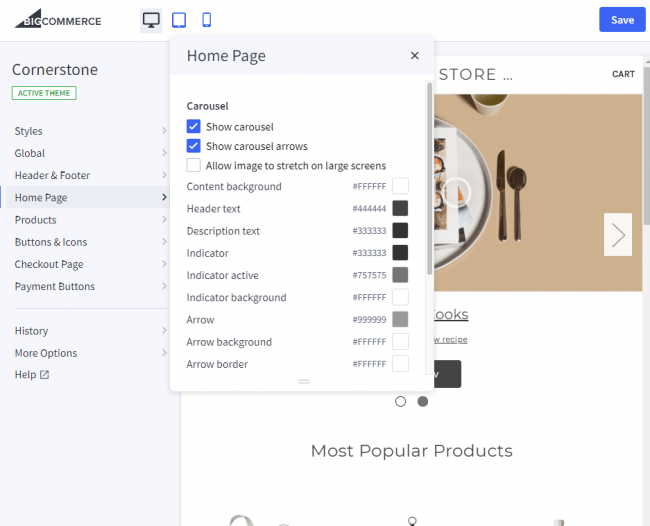
In the customization area, you'll notice several menu tabs, such as styles, global, homepage, and products. We won't walk through all of these, but it's important for you to at least click on these and understand what customization options you have before launching your online store.
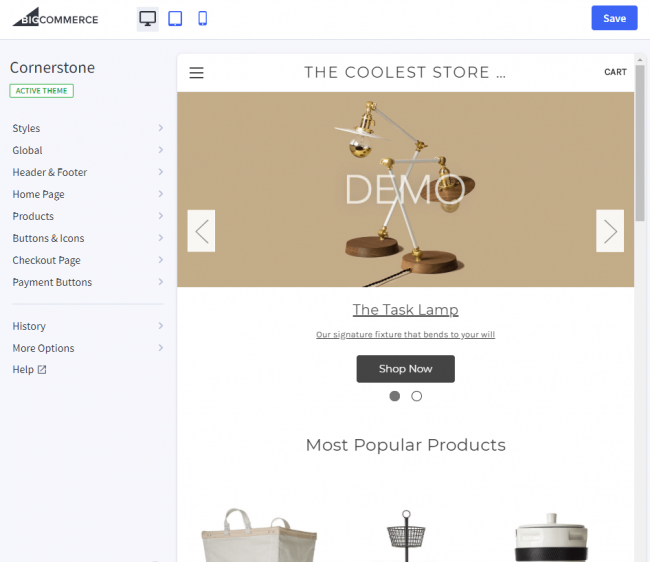
For instance, if I were to click on the homepage menu tab, BigCommerce reveals several checkboxes and color settings that are applied directly to my homepage. So, if I wanted to remove the carousel, it would only take the click of a button.
There are also several options for editing colors for items like text, indicators, and arrows. As mentioned before, these colors apply to your branding and should be adjusted as needed.
Step 4: Add You Logo
There are several branding settings that need to be tended to, but inserting a logo is one of the first things you should do. In the storefront menu, click on the logo button.
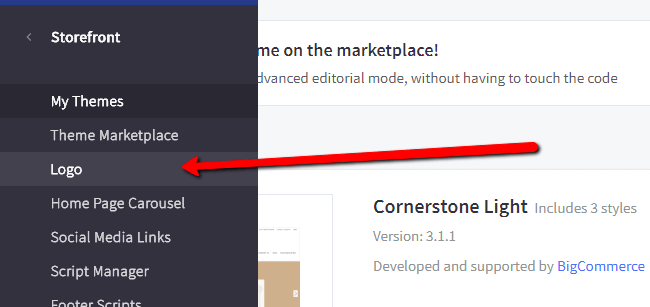
This page asks if you would like to enter text to display as your logo or if you would rather upload a custom image to use as your logo.
As you can see, I uploaded the Ecommerce Platforms logo and decided that I would like to optimize the logo to fit my theme. You also have the option to adjust the position of your logo by launching the theme editor.

Step 5: Create and View Products
To create your first product, go to the Products menu item and then click on Add.
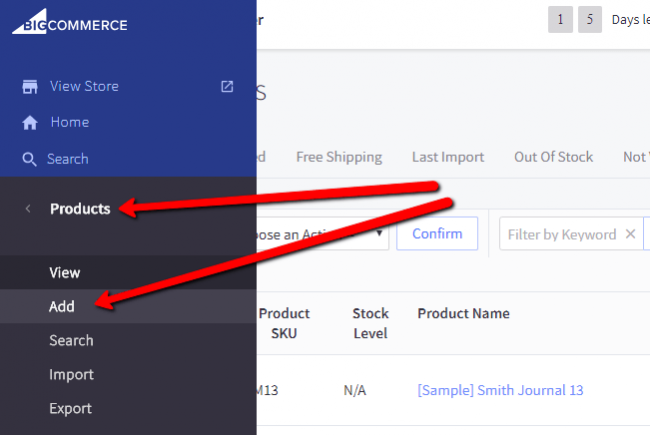
Here you can see all of the sample products that were added for your theme. However, you want to upload your own products, so click on the Add button at the top.

This is where you will start adding your product details. Type in the product name, default price, then select which categories you would like to place the product in.
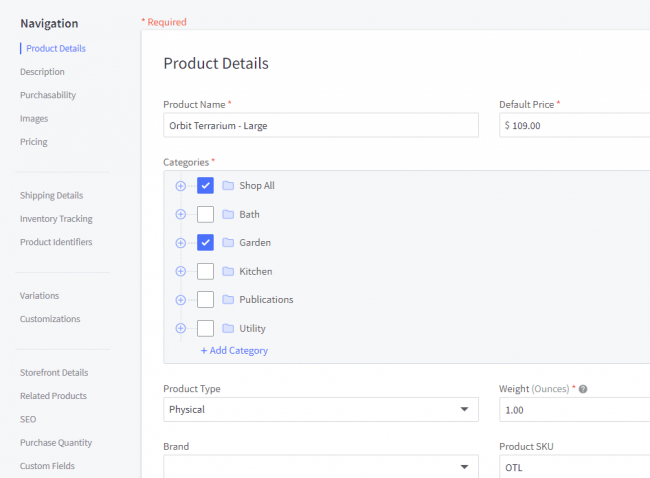
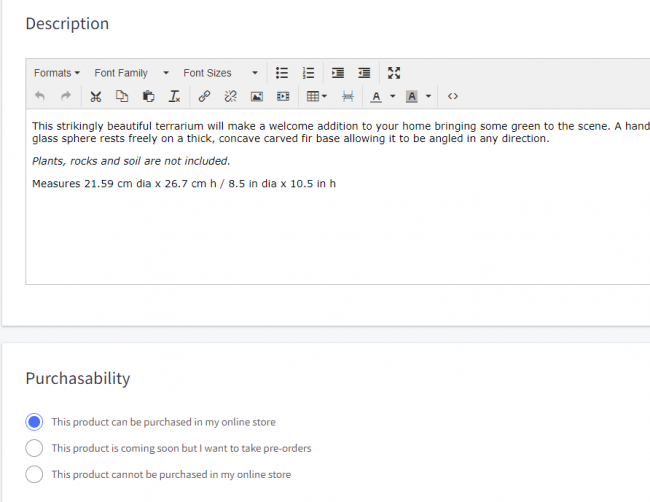
Scroll down the page to type in a description and select whether or not your product will be visible in the online store.
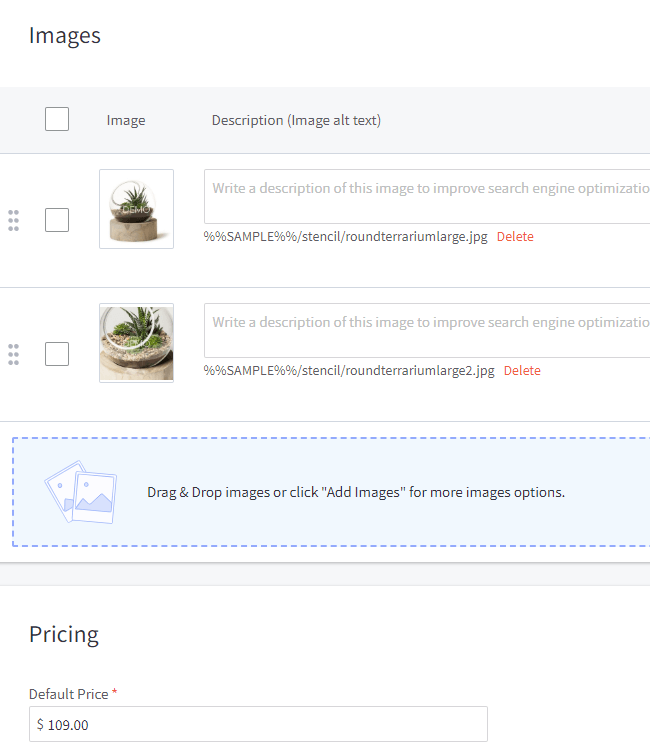
It's also important to upload your product images to provide several views of the item to your customers.
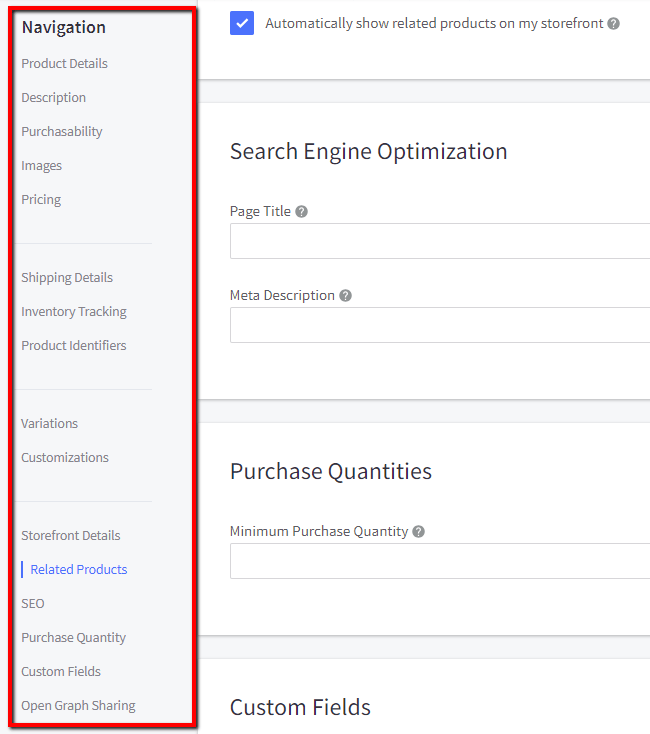
We won't go through all of the product settings in this BigCommerce tutorial, but we do encourage you to click through every menu item like Variations, SEO, and Purchase Quantity. Make sure you save your product when done.
Step 6: Test The Frontend of Your BigCommerce Store
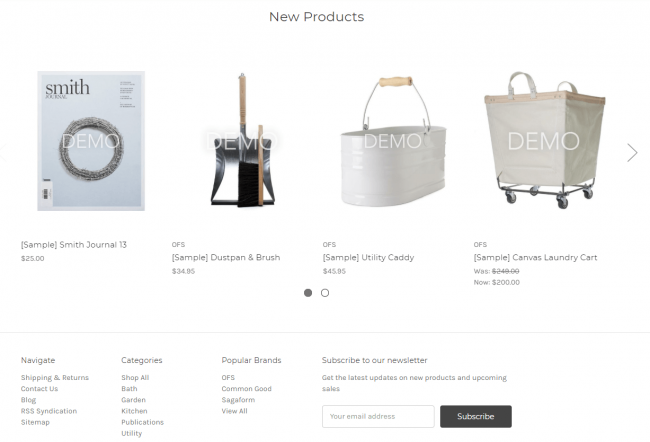
The dashboard has buttons for previewing products on the frontend.

You can also view your entire website to decide on which elements look good.
The Final Step of Our BigCommerce Tutorial
The final step is to compare plans and pick your URL. After this, you start paying a monthly fee for hosting and website building tools. You also get to launch your store and start selling.
Are You Ready to Launch Your Site?
In this BigCommerce tutorial we covered everything from creating an account to adding a product. If you have any questions, let us know in the comments below!
And don't forget to check out our BigCommerce review for more info about the platform.




Comments 0 Responses