The features of the plugin make it really easy to create a notification bar that fits your needs. You can create notification bars that are visible to all of your visitors or you can use a combination of settings to show your message to just a few people. It's up to you.
The position of the notification bar
As more and more items are fighting for the attention of your visitors on your website (cookie consent, live chat, exit-intent popup, etc) it is really important to find the right place for your notification bar. You can display it at the top or the bottom of your page and you can also make it sticky so it will be visible to your visitors all the time, no matter if they scroll the page.
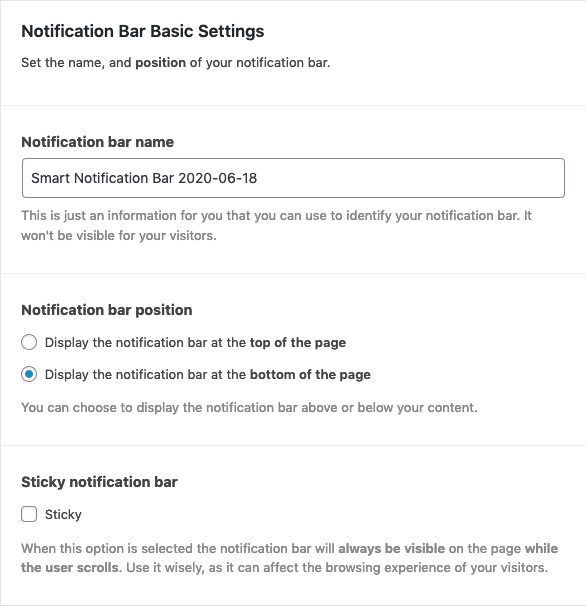
Content
The most important part of your notification bar is the content as that is the thing that can grab the attention of your visitors. Try to keep it short and easy to understand. You can also use emojis to make your message pop.
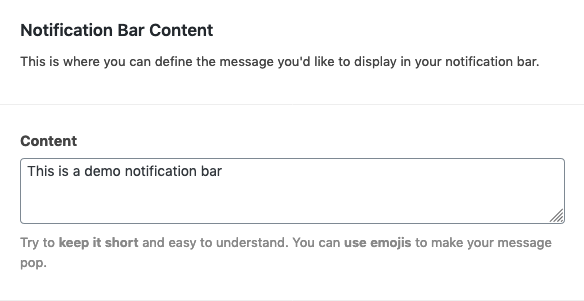
Templates
The built-in templates are handy when you don't want to spend much time designing your notification bar. You can choose a basic one or go with an option that was designed for a specific holiday.
Of course, you also have the option to change the settings of a template to make it fit better for your needs. The preview of your notification bar is always available and visible while you make your changes so you can tweak around the settings to find the right combination.
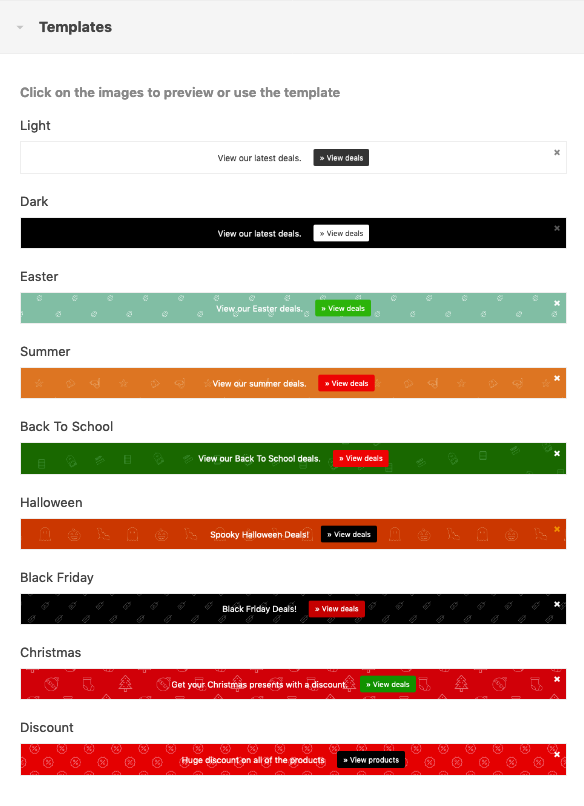
Design settings
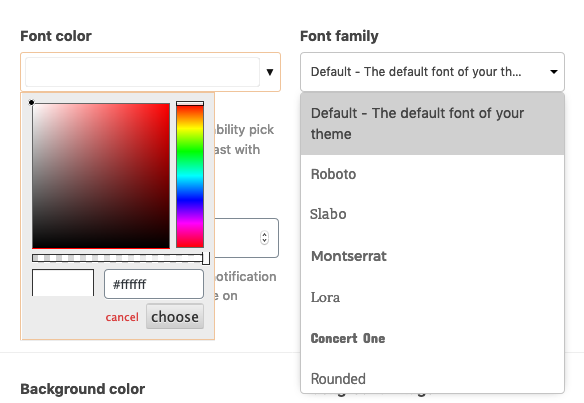
Besides using a template you can change the look and feel on your notification bar by setting the height, background color, and image, font color, font family, and size.
You don't need any developer skills to do that, all you need to do is select the right values in the right fields.


Call To Action settings
The easiest way to drive your visitors in the right direction is by displaying a button next to your message. There are some cases when you don't want to do this, and that's why you can manage the visibility of this element in the notification bar.

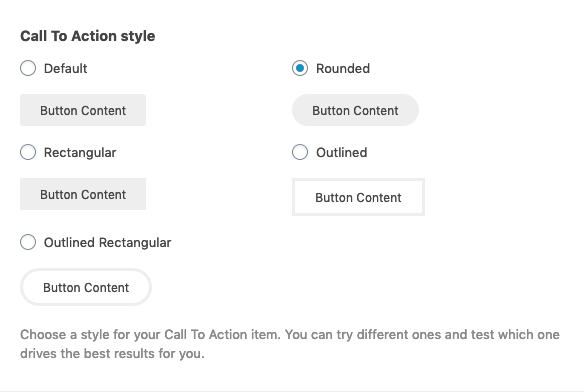
There are 5 button layouts available in the Smart Notification Bar, you can choose the one that fits best to the layout of your website.
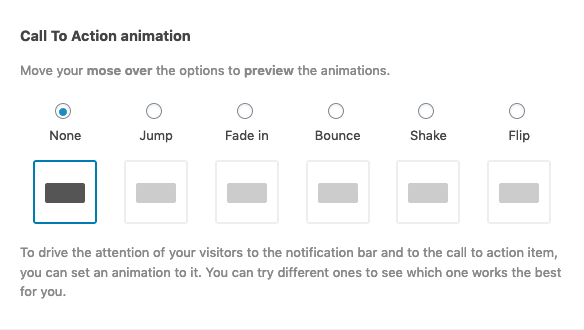
To catch your visitors' attention you can also set an animation to your button.
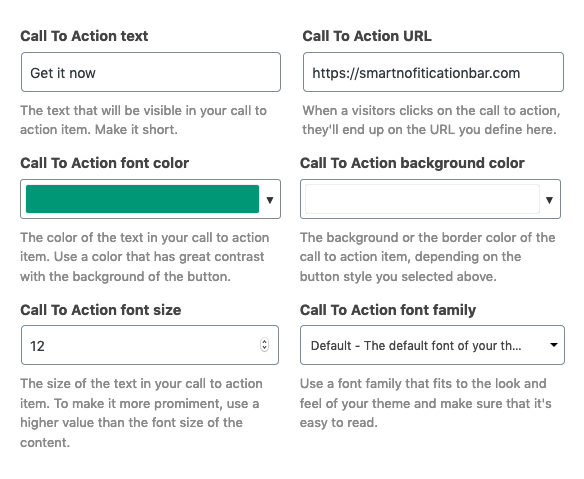
You can also set the content and the URL for your call to action button and can change the background color, font color, size, and family.
Close button settings
Sometimes, the message you display in your notification bar is something that needs to be visible all the time (eg: if you'd like to notify your visitors that they can only pay with a credit card), but sometimes it's something temporary. That's when the possibility to close the notification bar comes in handy.

To fit the design of your notification bar, you can change the color of the close button.

You can also define how long the notification bar should stay hidden after someone closed is. This way you can avoid annoying your visitors with the same message over and over again.


Display settings
A really useful feature of Smart Notification Bar is that you can easily define which pages you'd like to make your message visible on. For example, this feature can help you display a notification bar only on defined product or category pages to show product-related information.
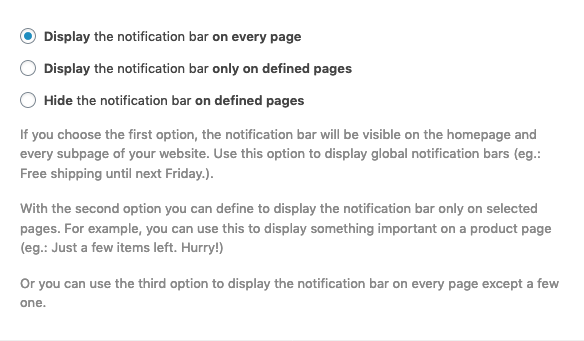
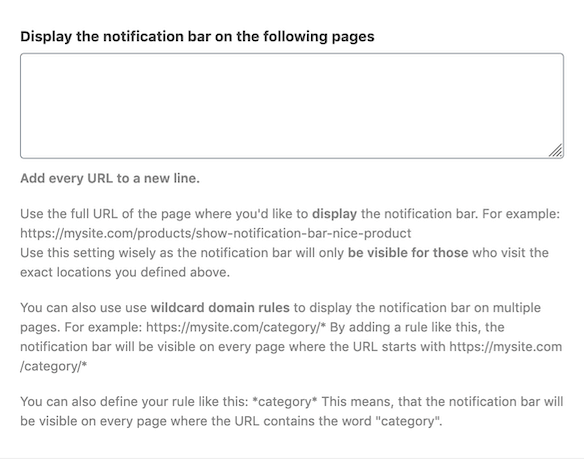
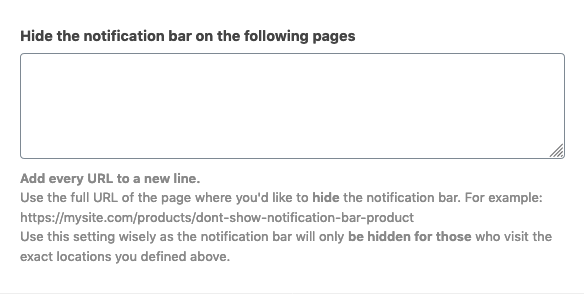
When you'd like to display your message on almost all pages except a few one, use the option to “Hide the notification bar on defined pages”. On checkout pages, it's better to hide every additional element that could distract your user from finishing the process. This is one use case that this feature can help you with.
Sometimes you need to display a different message for mobile and desktop visitors. Luckily, Smart Notification Bar provides a feature that you can use to do this. For example, this makes it possible to display a longer message on your desktop and a shorter one for your mobile visitors. Space on mobile is limited so try to use it wisely.

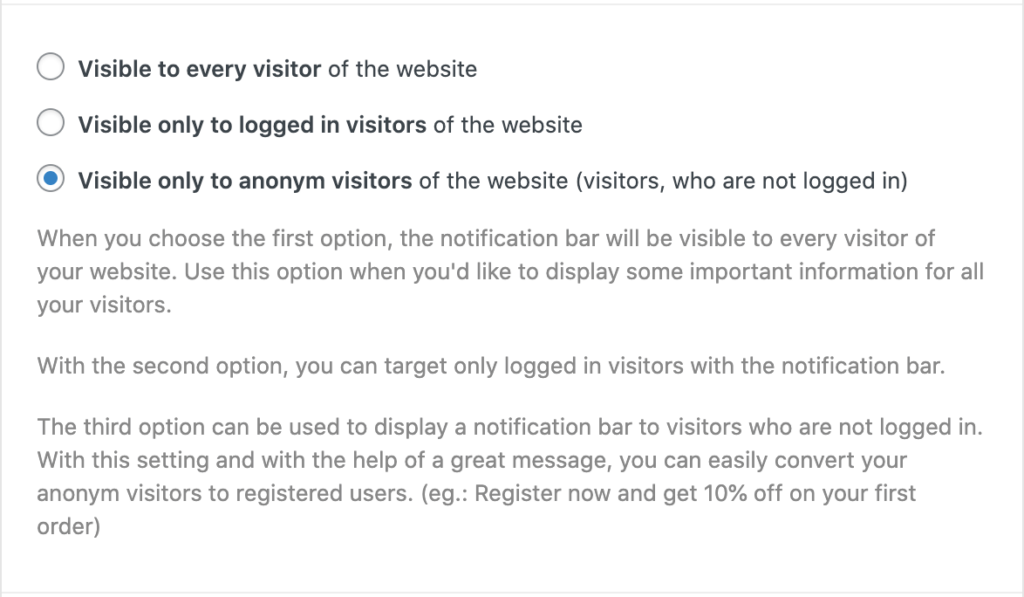
With the help of the plugin, it is also possible to display a notification bar only for logged-in users, or anonymous visitors. If you'd like to convert your visitors to registered users, this is the solution you are looking for.
Targeting options
The most powerful features of Smart Notification Bar is targeting. You can use it to target visitors from Facebook, Google, an email campaign, ad campaign, or almost any kind of source where you can attach a parameter to the landing URL.

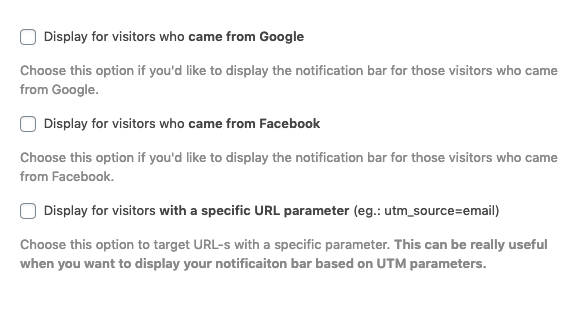
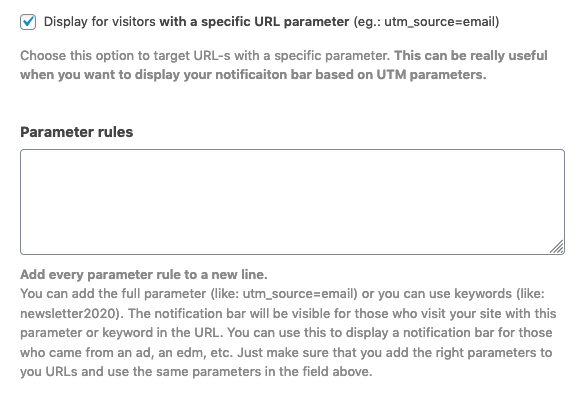
The most flexible way to target visitors is by using URL parameters. This could sound intimidating at first but don't worry, it's nothing special. You probably already used these before intentionally or accidentally.
For example, if you used Google Ads and auto-tagging, Google automatically added a gclid param to your URL. With Smart Notification Bar you can target that parameter by adding it to the “Parameter rules” field.
Why is this feature great to you? Let's say someone visited your website from a Google ad and you want to make sure that they'll purchase something. You can easily facilitate that by displaying a notification bar with a discount code for your visitor. Just target the gclid parameter and add the discount code to the content of your notification bar.
You can do the same thing with Facebook ads, utm parameters, or unique parameters created by you.
Scheduling
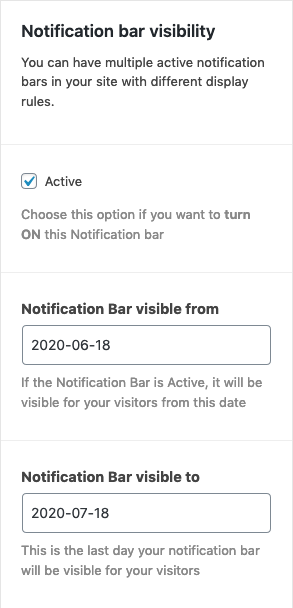
You can have multiple active notification bars on your site, the plugin will display only one of them. You can also set a visibility date for your messages so if you'd like to set up different notifications for every day in December to boost your Christmas season, you can easily do that.
Get the plugin
Smart Notification Bar can help you to easily target your visitors with the best message to drive more sales and grow engagement.

