
Looking for the best online video platforms for content creators? You’re not alone.
Video has taken the world by storm in the last few years. 86% of companies now use video as a marketing tool, and 92% say it’s a critical part of their marketing strategy. At the same time, the solutions content creators have for delivering video to consumers are evolving.
Today’s market leaders can stream live video, create online courses and webinars, provide video “on demand”, and even share their videos via OTT platforms. Of course, before anyone can start to leverage the benefits video has to offer, they need to find the right platform.
Online video platforms provide everything business leaders need to create and share compelling content, from CMS tools, to templates, and even monetization options.
Today, we’re going to be looking at some of the top video platforms business leaders and creators can explore for their needs in 2023 and beyond.
What are the Best Online Video Platforms?
Uscreen
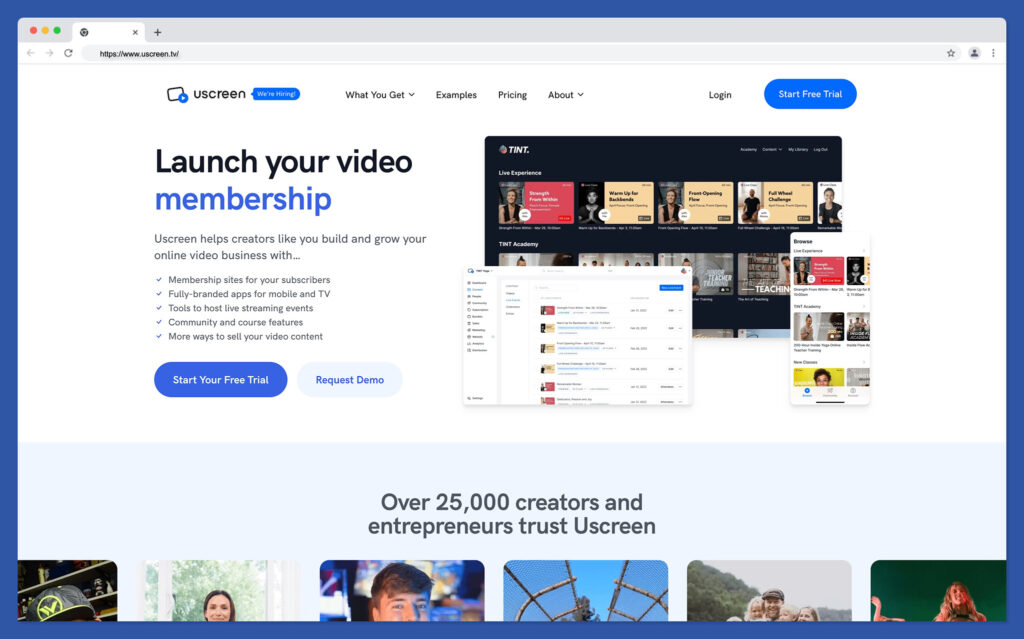
Uscreen stands out as one of the best-known video platforms on the market today, and for good reason. The all-in-one ecosystem for content creators is packed with features and functionality. Here, you can find everything you need to turn your videos into powerful resources for your brand.
Uscreen provides creators with a range of ways to share and deliver their videos. You can create fully-branded apps for TV and mobile, leveraging OTT functionality. There are community and course creation features, membership sites for subscribers, and tools for hosting live streaming events. Plus, the back-end environment is extremely easy to use for beginners.
Uscreen gives you infinite opportunities to customize your video campaigns. You can sell your content with one-off purchases, or recurring subscriptions, or leverage the power of ads to monetize your streams. Plus, there are tools for engaging your subscribers in real-time through live countdowns, chat functionality, and more.
Pricing
Uscreen does have a free trial option to help you get to know some of the features before you dive in. However, you’ll need a paid package to unlock the majority of the features. Paid plans include:
- Basic: $79 per month for a single admin, 50 hours of video storage, onboarding guidance, encoding, and access to marketing tools, analytics, automations, and website building.
- Growth: $159 per month for up to 10 admin users, 150 hours of storage, chat/email support, affiliate tools, ecommerce functionality, and affiliate tools.
- UscreenPlus: Custom pricing for as many admin users and all the video storage you need, live streaming analytics, white-label branding, and API guidance.
Pros 👍
- Lots of options for streaming and delivering content
- Powerful HTML5 video player
- Easy to use environment with templates
- Website building and app creation tools
- Community engagement features
Cons 👎
- Some features are reserved for more expensive plans
- Slight learning curve for beginners
Further reading 📚
Teachery
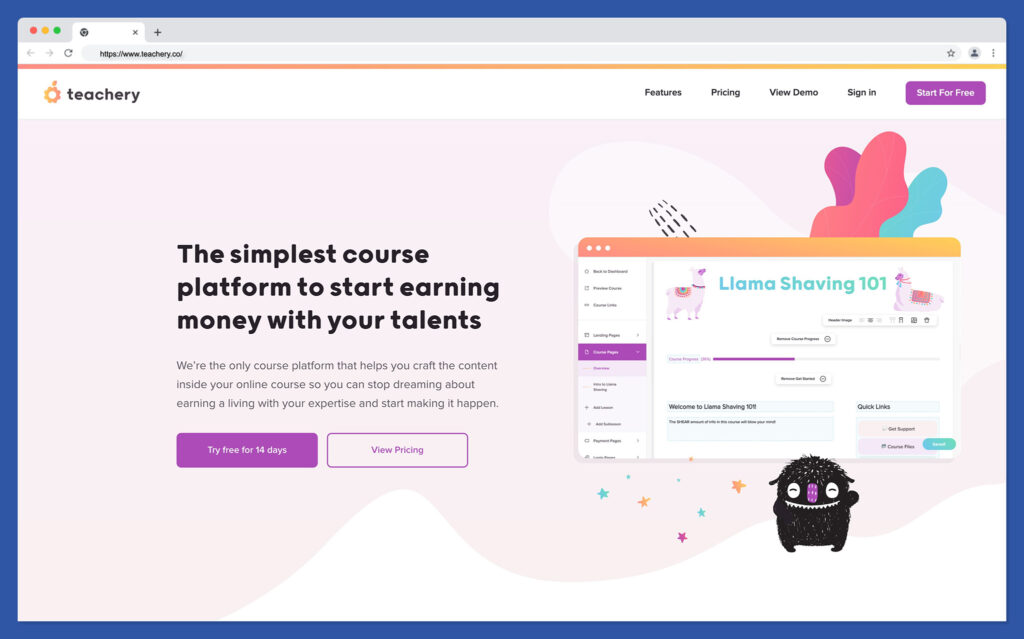
Another excellent video streaming platform, Teachery focuses on supporting educators in bringing exceptional content to students. The platform comes with powerful video analytics, a range of tools for content creation, and various solutions to enhance your online courses. The simple backend environment makes it easy to create full courses in no time.
You can create unlimited courses for as many students as you want on every account, and there are no transaction fees to worry about. You also get excellent customer support on every plan, and CRM integrations are available to help with tracking your audience. Teachery comes with a range of lead generation tools like forms, and you can optimize your content however you choose.
As one of the most popular video tools for educators, Teachery also makes it easy to get started with your streaming solution. The video sharing platform has two great template options to choose from, and a user-friendly backend where you can manage all of your content. You can easily track your entire workflow in one place.
Pricing
Teachery is an excellent video creation tool for content creators, with only two simple payment options to choose from. There’s a two week free trial, and once you’re done with that, you can choose between a yearly or monthly plan. Each package comes with access to all of the features the service has to offer, including email provider integrations, custom domains, and HTML customization.
Monthly packages start at $49 per month, while the yearly plan gives you a small discount at $470 per year.
Pros 👍
- Excellent platform for beginners
- Insightful customer insights
- User-friendly tools and branding options
- Videos are optimized for all screens
- All features included on both plans
Cons 👎
- Limited customization options
- Not many streaming options
Further reading 📚
Wistia
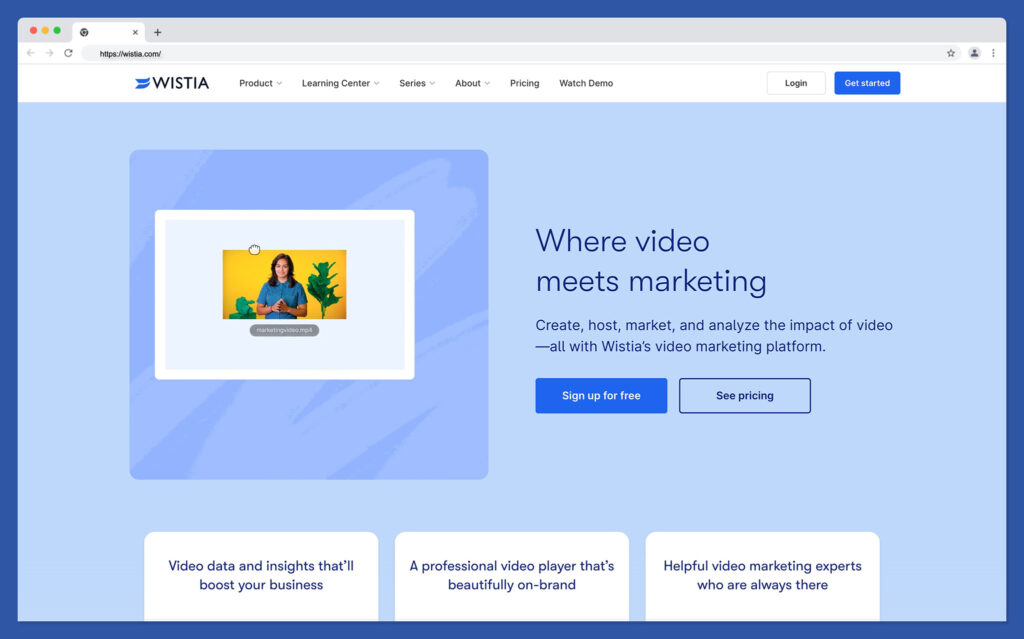
Another phenomenal all-in-one video solution for today’s content creators, Wistia has a lot of potential to offer. The platform provides a great environment for hosting, designing, and sharing your videos. You can even record videos and edit them directly within your browser, with access to screen-capturing tools and a simple video trimmer.
Wistia allows you to customize the video experience for your brand, with lots of templates to get you started, and there’s an in-built cloud CMS where you can organize and manage all of your content. You can embed 4K videos into your website, and create podcasts to share with your community through common distribution channels.
Wistia also has a fantastic range of features to ensure you can get the best ROI from your video content. There are powerful analytics and insights, SEO support for optimizing your content, and integrations to Facebook and Google. You can even create automated campaigns for connecting with your audience as you release new videos.
Pricing
There are various options available for pricing from Wistia. The first solution is a convenient free plan which supports as many as 10 videos for one user. However, if you want more functionality, you’ll need one of the paid packages:
- Plus: $19 per month for all of the features you get in the free plan, plus 20 videos, lead capture forms, and up to 3 admin users.
- Pro: $79 per month for all the features of Plus, support for up to 50 videos, and 5 users. You also get video heatmaps.
- Advanced: $319 per month for all the features of Pro, plus 20 users, 250 videos, and various marketing integrations.
Pros 👍
- Easy back-end environment with 4K video support
- Customizable content embeds
- Integrations with Google and Facebook
- Marketing support and SEO
- Convenient cloud-based CMS solution
Cons 👎
- Limited video hosting support
- Prices scale quickly
Further reading 📚
Brightcove
One of the more powerful video platforms around, intended for people who really want to double-down on their video solution, Brightcove has a lot to offer. The solution is built to help content creators engage their audience anywhere, monetize their content, and leverage OTT platforms. You can monetize your content through advertising, one-time purchases, bundled packages, and more.
Brightcove makes it easy to seamlessly deliver content to virtually any device. There are around 16 global data centers responsible for ensuring your videos stream perfectly. Plus, you can choose whether you want to showcase your video on-demand, or live. There’s even a handy back-end environment where you can manage your assets.
Brightcove also offers a unique “Beacon” feature, which allows you to deliver content across 11 devices and platforms around 175 countries for OTT purposes. Plus, you’ll have fantastic in-depth analytics and reporting tools to ensure you’re getting the best results from your campaigns.

Pricing
Brightcove doesn’t have a transparent pricing structure posted on its website. Instead, you’ll need to contact the company directly to get a quote. This is a purposeful move by the company to make sure you’re getting the customized plan you need, with the correct features. On the plus side, this should ensure you get the most out of your campaigns.
Pros 👍
- Fantastic content delivery with DRM protection
- Secure and reliable storage capabilities
- Custom package creation for different viewers
- Excellent video quality for streaming
- Device management controls for security
Cons 👎
- No transparent pricing options
- Learning curve for beginners
Dacast

An interesting alternative to some more common streaming options, Dacast is intended for all kinds of large and small organizations hoping to get started online. The solution provides a fantastic secure video hosting solution with easy access to a range of video options. You can stream live events, play content on-demand to users in various formats, and more.
Dacast has it’s own dedicated HTML5 player, and a set of top-tier CDNs to ensure you can always provide the highest streaming quality. You can also unlock phenomenal customer service and support. The platform even comes with various ways to engage audiences and increase views via analytics.
With Dacast, you’ll have access to support for unlimited concurrent viewers on almost every plan, which is a rare offer among video content platforms. The technology is also quite affordable compared to some of the other leading video players. You’ll also have excellent transcoding capabilities and state-of-the-art security.
Pricing
There’s a fantastic 14-day trial where you can leverage some of the leading features on the platform, as well as a range of paid packages for different users, such as:
- Starter: $39 per month for 1.2TB of bandwidth, 50GB of storage, 1080p video quality, video hosting and live streaming, and unlimited concurrent viewers.
- Event: $63 per month for all the features of Starter plus 6TB of bandwidth, 50GB of storage, real-time analytics, VOD playlists, live countdowns, polls, and advertising.
- Scale: $188 per month for all the features of Event, plus 24TB of bandwidth, 1000GB of storage, unlimited channels, chapter markers, and advanced library management.
- Custom: Bespoke pricing for all the features of scale plus advanced tools, added support, integrations and migrations, custom SLAs, and 5 team members.
Pros 👍
- Secure and reliable video streaming
- Payroll and pay-per-view monetization options
- In-depth analytics and insights
- HTML5 video player for better streaming quality
- Unlimited concurrent viewers
Cons 👎
- Limited bandwidth options
- Not the best community building features
Further reading 📚
Loom
Loom is a convenient and simple tool for video content creation. Designed to help people share videos more easily in the age of hybrid work, the tool allows you to quickly record and share your camera and screen. You can capture video in a couple of seconds, and simply paste a link to your video to anyone you want to share with.
There are also tools to help you collaborate with team members when they’re viewing your videos. For instance, you can access time-stamped comments and emoji reactions. Loom allows you to set privacy controls and passwords, and customize your content with branding. There’s the option to embed links in your videos, and access viewer and engagement insights too.
Loom also has an advanced set of features for enterprises, like SSO (SAML) and SCIM (OKTA), custom data retention policies, and integrations with leading tools. This tool could be perfectly suited for business leaders and employees looking to make the most of video online.
Pricing
There’s a free plan available from Loom to help you create quick and simple video messages fast. Up to 50 creators can use the platform to make up to 25 videos (up to 5 minutes long). The plan includes screen recording and camera bubbles, unlimited transcriptions, viewer insights, privacy controls and instant editing options. Paid packages include:
- Business: $8 per month per creator for as many creators and videos as you want, and unlimited recording lengths. You also get custom branding, engagement insights, embedded links, password protection, and video upload management.
- Enterprise: Custom pricing for all the members, videos, and recording you need, plus SSO and SCIM, advanced privacy tools, custom data retention, activity log exports, and integrations with tools like Salesforce.
Pros 👍
- Easy-to-use environment for content sharing
- Fantastic collaboration tools
- Branding capabilities available
- Engagement and viewer insights
- Password protection and privacy
Cons 👎
- No monetization options
- No live streaming
Vimeo
When it comes to leading video providers, Vimeo is easily one of the best-known on the market. Ideal for companies investing in video marketing and video sharing strategies, Vimeo is an all-in-one platform for interactive content management. You can create online events, share videos with colleagues, and implement your content into streaming services.
Vimeo offers a fantastic OTT service for connecting your content to popular applications. The video hosting platform also allows for selling video on-demand, accessing dedicated hosting and management tools, and more. You can also create enterprise video tools for sharing content with your team members in a business setting.
Vimeo is extremely generous with its features. Even on basic plans, you’ll still have access to video chaptering, screen recording, and various tools for video monetization. There’s SEO tools, password protection to defend the viewing experience, and a range of templates within the content management system. Plus, you can rest assured your high-quality video will be optimized for mobile devices.
Pricing
Vimeo has a 30-day free trial, and a free plan, though there are limitations on the hosting services you can get for free. There are no privacy features with the free plan, and you can’t customize your own videos as much as you would with a paid package. Paid options include:
- Starter: £9 per month per user for player embedding, screen recording, password protection when you upload videos, basic templates, engagement analytics and SEO. (5 videos per user)
- Standard: £27 per month per user for all the “Starter” features, plus search engine support, branding, custom CTAs, lead capture forms, on-demand selling and advanced video content management tools. (10 videos per user)
- Advanced: £51 per month per user for all the features of Standard, plus events and virtual webinars, attendee registration, real-time insights, live polls, and chats. (20 videos per user)
- Enterprise: Custom pricing for all the features of “Advanced”, plus custom permissions, SCIM and SSO, advanced integration, Q&A moderation, and backup streams.
Pros 👍
- Excellent cloud video storage and content management
- 4K video playback and uploading
- Fully customizable video players and embeds
- SEO and marketing tools for social media
- Great reliability and uptime
Cons 👎
- Limited number of videos on each platform
- Limited file sizes
Finishing Thoughts
There are countless online streaming platforms on the market today, from Vidyard, Dailymotion, and Twitch, to dedicated plugins for media companies from IBM cloud. The key to finding the right solution for you is doing your research. You can start with a free platform or free video plan to experiment with features, then make a list of the functionality you need most.
Good luck finding the ideal video player for your needs.


Comments 0 Responses