
One of the most common questions I get after delivering a newly migrated Shopify store is this:
“How do I remove the password protection and make my store live?”
Here’s the short answer: Go to Online Store > Preferences in your Shopify admin, scroll to the Password Protection section, uncheck the box, and hit Save. That’s it—your store is live!
Now let’s break it down step-by-step (screenshots included) so you can avoid any issues.
It’s an important step. You’ve spent time getting your store ready—products, design, apps, all set up—and now it’s time to show it to the world.
Let’s walk through this step-by-step so you can launch your store without any hiccups.
Why Is Your Shopify Store Password-Protected?
When you’re working on a Shopify store, it starts off in password-protected mode. This is Shopify’s way of keeping things private while you’re setting everything up.
Only people with the password can view the site, which is useful when you’re still working on designs, testing apps, or setting up products.
But once you’re ready to go live, this password needs to come off. Otherwise, nobody can access your store except you and whoever has that password.
How to Remove Password Protection From Your Shopify Store
Here’s exactly how you can take down that password protection and open your store to the public:
1. Log in to Your Shopify Admin Panel

- First, go to your Shopify admin dashboard by logging into your account.
- If you’re already logged in, great—you’re ahead of the game.
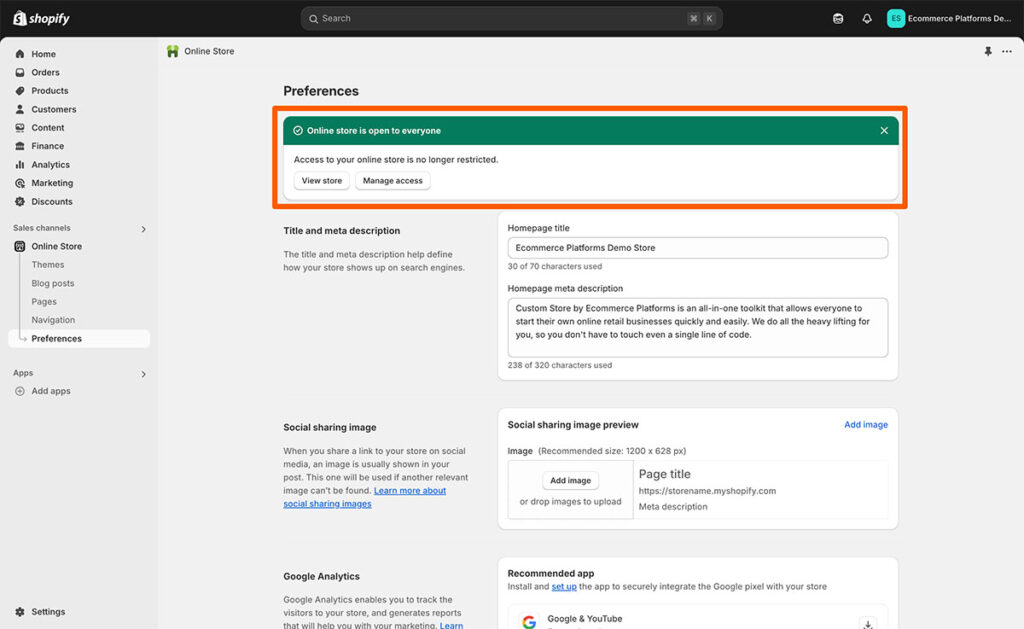
2. Navigate to Your Online Store Preferences
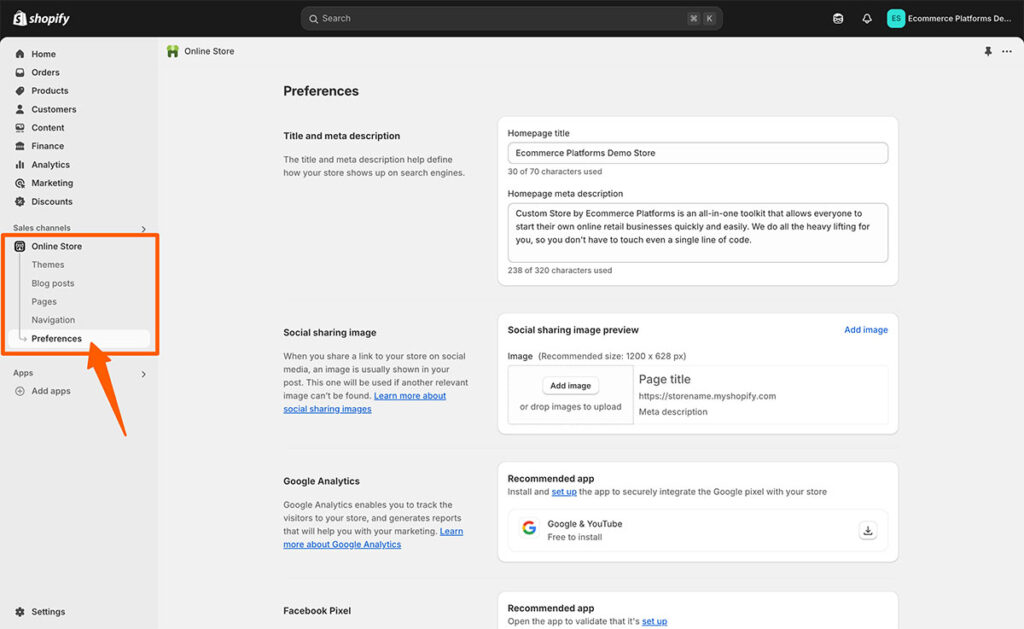
- On the left-hand menu, click on Online Store, and then select Preferences.
- This is where all the important settings for your store’s visibility live.
3. Scroll Down to the Password Protection Section
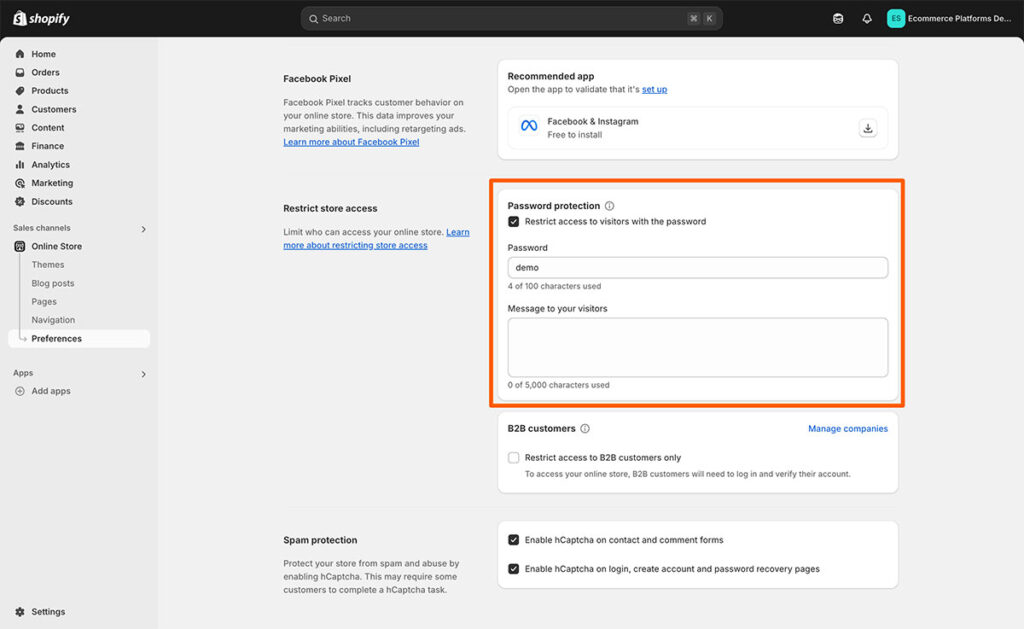
- Scroll down the page until you see a section called Password Protection.
- You’ll notice a checkbox that says “Enable password protection.”
4. Uncheck the Password Protection Box
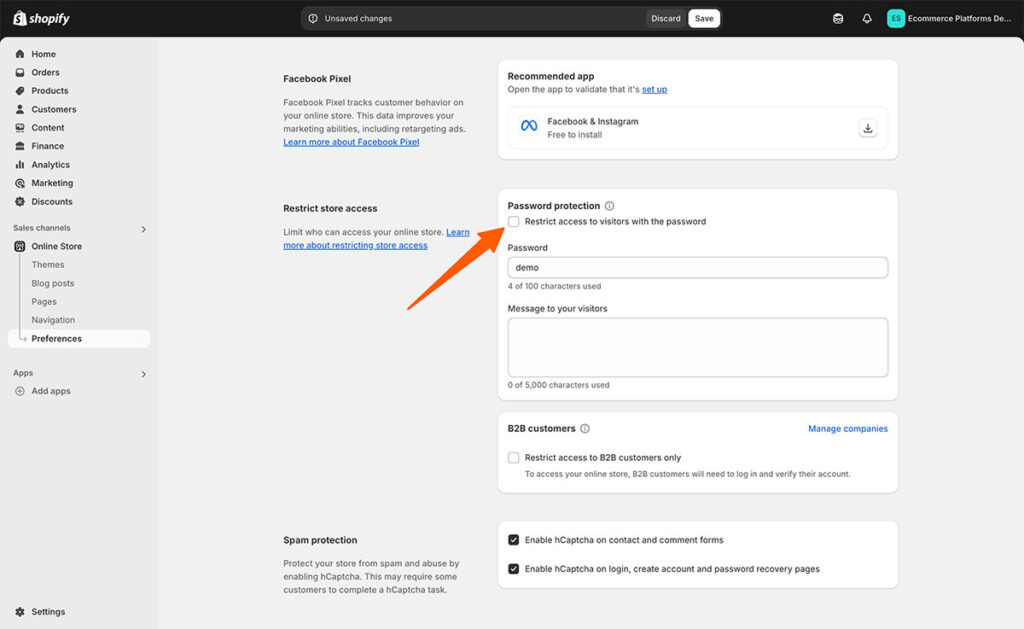
- Simply uncheck that box. Once you do, your store will no longer require a password to view.
5. Save Your Changes

- This step’s easy to overlook, but don’t forget to hit the Save button at the bottom of the page. If you don’t, the changes won’t stick.
Boom—your store is now live! Anyone can visit it without needing a password.

Common Issues When Removing Password Protection
Sometimes, even after following the steps, things don’t work as expected. Here are a few common problems I’ve seen with clients and how to fix them:
- Still Seeing the Password Page?
Your browser might be caching the old version of your site. Clear your browser cache or try viewing your site in an incognito window. - Free Trial Stores Can’t Remove Passwords
Shopify doesn’t let you remove the password if your store is still on the free trial plan. You’ll need to pick a paid plan before your store can go live. - Custom Domain Issues
If you’re using a custom domain (like yourstore.com), make sure it’s correctly pointed to Shopify. This means updating your DNS settings with your domain provider, such as GoDaddy or Namecheap. - Unpublished Theme
If you’ve set up a new theme but haven’t published it, your store might still appear as protected. Double-check that your theme is published under Online Store > Themes.
What to Do After Making Your Store Live
Once your store is live, here are some quick steps to make sure everything’s running smoothly:
- Test Your Store Like a Customer
- Open your store on desktop and mobile.
- Check product pages, add-to-cart buttons, and the checkout process.
- Submit Your Sitemap to Google
- Head over to Google Search Console and submit your sitemap (
yourstore.com/sitemap.xml) so search engines can start indexing your site.
- Head over to Google Search Console and submit your sitemap (
- Check Your SEO Settings
- Make sure your meta titles, descriptions, and alt texts are optimized for your main keywords.
- Verify that your site’s robots.txt file isn’t blocking crawlers.
- Set Up Analytics
- Connect your Shopify store to Google Analytics and your Facebook Pixel to track traffic and conversions from day one.
FAQs I Get From Clients about Removing Shopify Password
Here are a few questions I’m often asked after migrating a Shopify store:
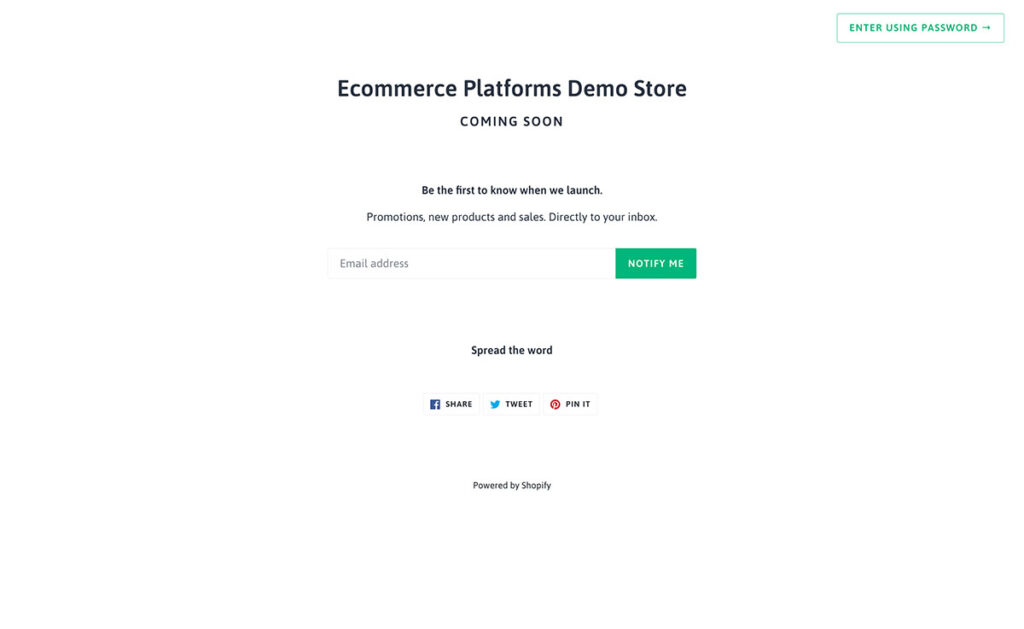
My store still says “Coming Soon” after I removed the password. Why?
This is almost always a browser cache issue. Try clearing your cache or testing the store in a different browser or device.
Can I remove the password while I’m on a free trial?
No, Shopify requires you to choose a paid plan before your store can go live to the public.
How do I test my store before launching it?
You can leave the password protection on and share the password with friends, teammates, or testers. Once everything looks good, remove the password to launch.
Final Thoughts
Taking your Shopify store live is a big milestone—it means all your hard work is ready for the world to see. Removing the password is a small but crucial step in that process.
Follow the steps I shared above, and you’ll be good to go. If you run into any issues, don’t stress—it’s usually something simple like a cache issue or a missing setting.
And if you’re still stuck, feel free to reach out. This is what I do every day with my clients, and I’m always happy to help.


Comments 0 Responses