
It’s not uncommon to see $16 billion quarterly revenues from Amazon, but what’s interesting is that much of this revenue is now coming from digital sales.
From eBooks to music, digital sales are a wonderful way to make money, and if you make your own digital product marketplace, similar to Amazon, you may just end up with a decent amount of online revenue coming your way.
The idea behind digital product marketplaces is to offer two profile options, one for buyers and one for sellers.
You provide the infrastructure for buying and selling, then take a cut of every sale that goes through your site.
Since comparing yourself to Amazon is a rather tall order, a better example is the Envato Marketplace, which lets creatives sell items like website themes, audio clips, photos, and videos. Just remember, your best bet is to target a niche market.
After much research, I have found that the most cost-effective and robust solution is a combination of a solid hosting plan (from $4 per month,) WordPress (free,) the Marketify WP theme ($63,) and the Easy Digital Downloads Marketplace Bundle ($159.) Keep reading to see how to set it all up.
Acquire A Domain and Hosting Plan First
It doesn't matter whether you’re building a digital product marketplace or a simple website for your restaurant – you need hosting and a domain to not only look professional but handle the amount of traffic we anticipate.
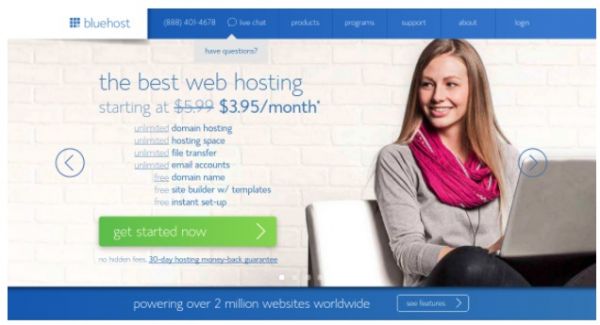
Lots of hosting options exist, but Bluehost is by far the best in my experience. The security and reliability are there, and I’ve always found that the customer support solves my problems within just a few minutes. Not to mention, the backend is friendly for webmasters of all experiences.
Navigate to the main Bluehost homepage to get the ball rolling (you might want to skim through my full Bluehost review first). Select the Get started button to move on.
Choose which of the plans you want to use for your marketplace. You can always change this during the next few steps, but the Starter Plan is usually what I go with for a new website.
It’s the most affordable in the short term, and it gives you all the storage and support needed.
Choose your domain name on the next page, or consider transferring one over that you already own.

Type in the domain name of your choice and click on the Next button. The next page tells you if the domain is available, and how much you have to pay for it.
They generally run for around $10 per year, so it’s not exactly that expensive. For transferring your own domain, use the module on the right hand side and walk through the quick process to bring it over to Bluehost.
Type in all of your account information. This includes items like your name and phone number. Move down to the Package Information area, where you can choose an account plan.
They bill you for the year upfront, but the more years you commit to the cheaper it is overall.

I recommend unchecking all of the other boxes underneath that, since you can typically find those services for free (or cheap,) by using WordPress plugins.
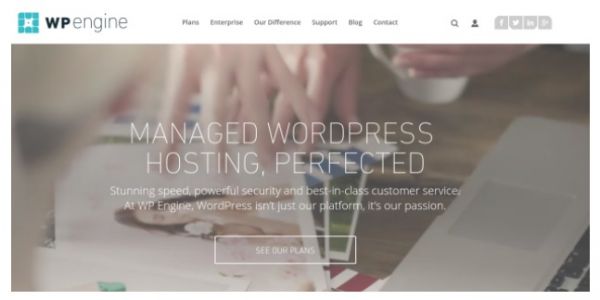
Sometimes Bluehost isn’t for you. If you expect your site to grow at a fast pace, consider going with WPEngine (check out my WPengine review). It offers managed hosting for companies that plan to scale fast, handling large traffic loads.
Installing WordPress on Bluehost
Once your Bluehost login details are created, it will send you to your Bluehost CPanel. This is your hosting backend for managing your website files, domains and other items.
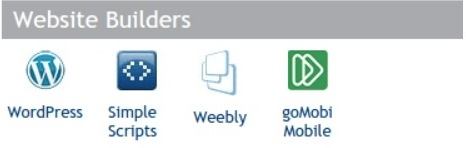
Go to the Website Builders header on your CPanel main page. Click on the WordPress button to install WordPress on your website.
This is a wonderful little tool, so that you don’t have to know much about manual WordPress installations. Just walk through the steps, create your WordPress admin login credentials and login to the backend of your WordPress site.
Make sure you save the URL to your WordPress login page. You’ll use this to access the backend every time.
Creating a Marketplace Website with Marketify
Step 1
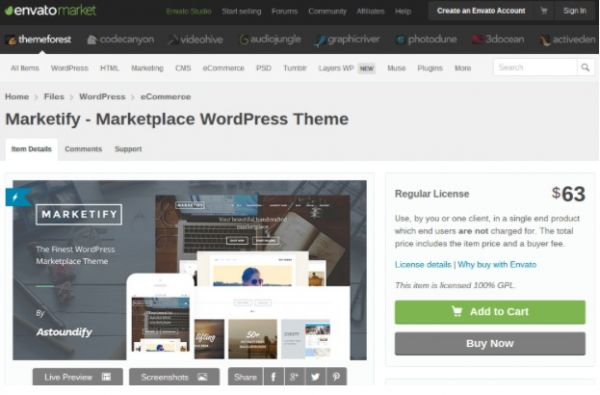
Navigate to the Marketify sales page on Themeforest. Login to your Themeforest account or create one. Consider testing the theme demo to see if it’s exactly what you want.
Click on the Buy Now button to complete the transaction.
Step 2
Once the Marketify theme is purchased, download the zip file to your computer. Just remember where you put the file for later use. Don’t unzip the file.
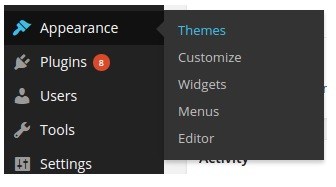
Go to the backend of your WordPress website. On the dashboard, select Appearance > Themes.
Step 3
Select the Add New button.

Now, click on the Upload Theme option.

Select the Choose File button and search for the Marketify zip file on your computer. Upload the zip file, install it on your site, and go to your WordPress frontend to see it displayed.

Step 4
The Marketify theme comes as a complete solution to serve up seller (referred to as author) and buyer profiles. You also have the ability to view and modify the site as an admin.
Comprehensive theme documentation comes along with your Marketify purchase, so you can use this to design your website and build the perfect digital marketplace.
Step 5
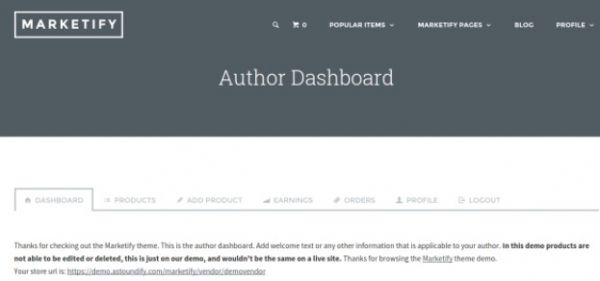
Feel free to design the marketplace however you desire. There’s no reason to cover design here, since most of it is in the documentation, and you most likely want to make your site look unique. However, you will want to figure out if the author end of your site is working properly.
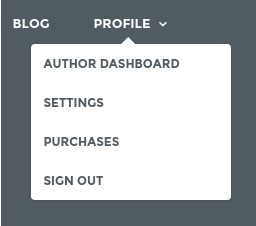
Therefore, I recommend posting a few fake, or real, digital products through a mock author profile of your own. Go to the frontend of your site and select the Profile menu item. Click the Author Dashboard option.
Step 6
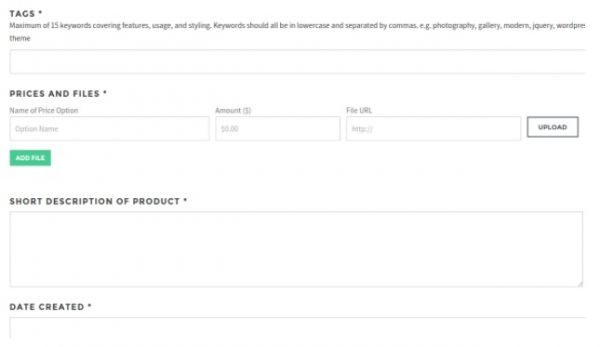
Go to the Add Product tab to create your first item.
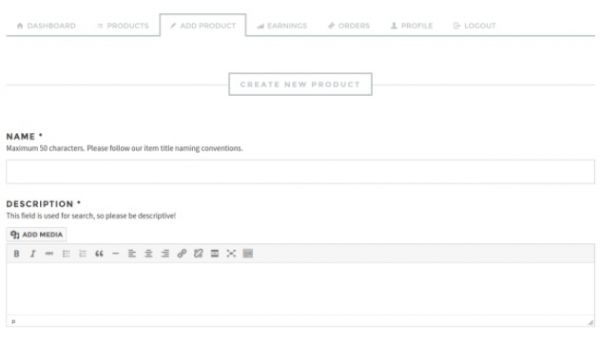
Fill in things like descriptions, product names, images and more. Tags and pricing fields are also available, along with URLs to previews and files.
Step 7
It’s particularly important to fill in licensing, file type and file size information when selling digital products online.
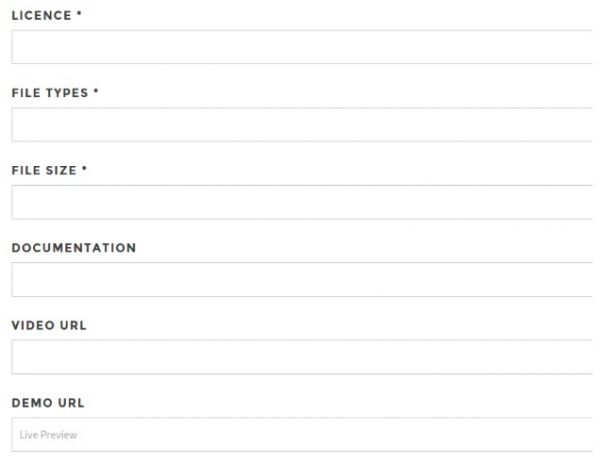
Save the product when finished.
Step 8
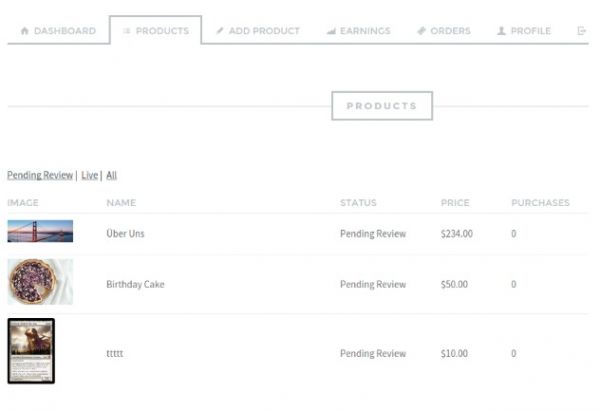
If you click on the Products tab you can view the entire list of items you’ve created and posted on the marketplace. This is great for managing inventory and modifying prices.
Step 9
The Earnings tab outlines the sales you’ve made in the past, and I particularly enjoy the feature for downloading a CSV file for monthly earnings.

Step 10
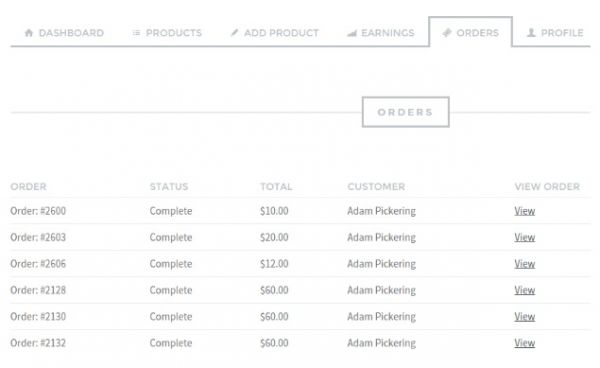
The Orders tab lists every transaction made, whether they are being processed or already completed. Click on one of the View Order links to see additional details like payment type and when the purchase was made.
Implementing the Easy Digital Downloads Marketplace Bundle
With Marketify you basically just have a website for people to buy and sell physical products. It provides a few tools for simple digital downloads, but it’s not really all that robust for making a serious digital marketplace.
Because of that, we need to download and install the Easy Digital Downloads Marketplace Bundle, which provides features for commissions, reviews, wishlists, points and rewards, frontend submissions, social logins and recommended products.
Step 1
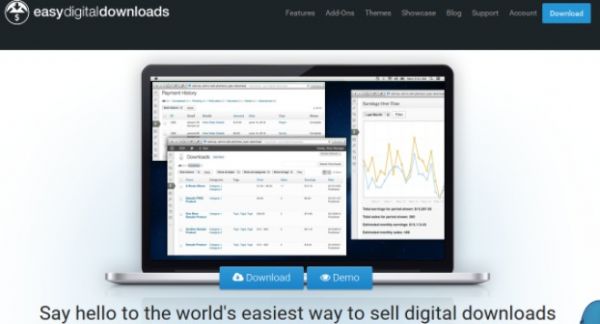
Go to the Easy Digital Downloads website and download the EDD free plugin from the homepage. Check out my full Easy Digital Downloads review as well.
Step 2
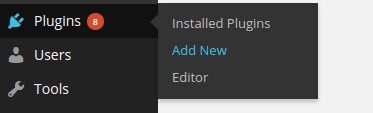
This comes in a zip file, so save it somewhere on your computer, then go to your WordPress dashboard. Go to Plugins > Add New.
Step 3
Select the Upload Plugin button.
Step 4
Click on the Choose File option, locate your Easy Digital Downloads zip file and upload it to the dashboard. Click the Install Now button and walk through all of the steps to activate the plugin on your website.

Step 5
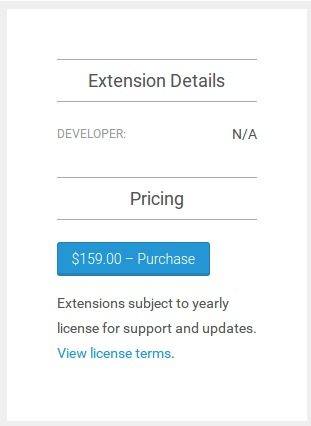
Once this is completed you can go to the Marketplace Bundle from Easy Digital Downloads page.
Click on Purchase > Checkout.
Step 6
This brings you to the shopping cart page, so fill in your personal information and credit card details.
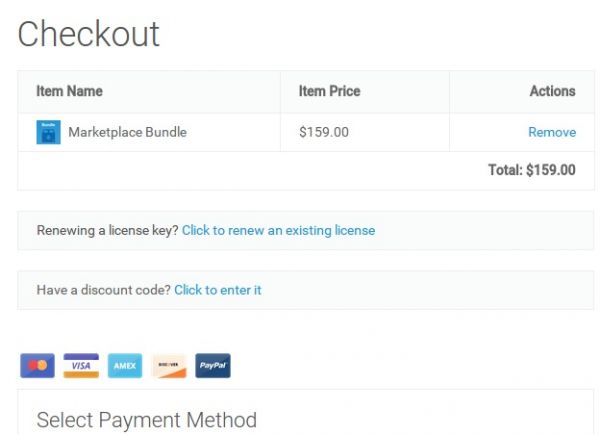
Once the transaction is complete it will prompt you to download the bundle in another zip file. This is yet another WordPress plugin, so all you have to do is walk through the same plugin installation process we talked about above for Easy Digital Downloads.
Go to Plugins > Add New on your WordPress dashboard, then upload the zip file to your dashboard and activate it.
Step 7
The Marketify theme won’t work properly if you don’t install all of the plugins it is meant to run with. We already talked about Digital Downloads, but I would recommend going to the guidelines from Marketify to see how to install other required plugins like JetPack.
Step 8
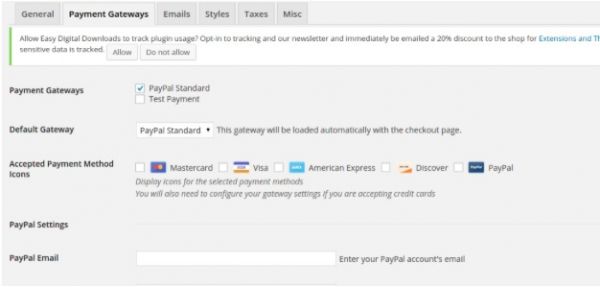
Now it’s time to add a payment gateway. Easy Digital Downloads allows you to collect payments through PayPal Standard.
To add your PayPal email address and modify items like accepted payment methods, go to Downloads > Settings > Payment Gateways while in your WordPress dashboard.
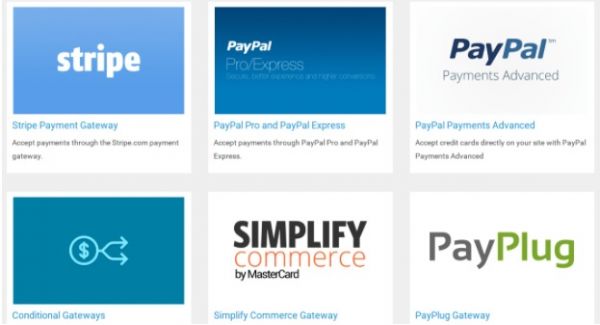
If you would rather choose a payment gateway like Stripe or PayPal Pro, you have to check out the other options here. To install these gateways, pay for them, download the files, and treat them like you would any WordPress plugin. By that I mean go to Plugins > Add New and walk through the process.
Step 9
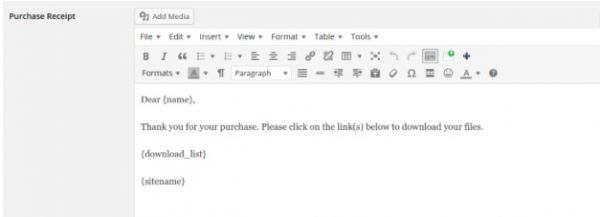
Every good marketplace sends out purchase receipts to customers and sales emails to vendors. How do you set those up? They are activated by default in Easy Digital Downloads, but you probably want to customize them.
Go to Downloads > Settings > Emails.
Modify the Purchase Receipt and Sales Message however you want. You’ll notice that each one has handy shortcodes underneath to create dynamic messaging for vendors and users.
Step 10
A huge part of every marketplace is adding pages for both vendors and users to sign up and register quickly. In order to do this, create two brand new pages. Call one something like User Registration and the other something like Vendor Registration.
You can create a new page by going to Pages > Add New.
Use the [fes_registration_form] shortcode on the vendor registration page. This creates the registration page automatically.
Use the [edd_register] shortcode on the user registration page.
Keep in mind that Easy Digital Downloads provides wonderful documentation for designing and building your digital marketplace.
I would recommend reading through all of this to ensure that your site is the best it can be. It’s also not a bad idea to view the Marketify documentation page since it provides tips on making your frontend look great.
Alternatives for Building a Digital Product Marketplace
WordPress + Marketify + Easy Digital Downloads is a viable combination for making your first (or tenth) digital marketplace. It's a self-hosted solution with the option to scale up and expand your website with new hosting and plugins.
However, this method might not be the best route for some ecommerce professionals. You could find it easier to build a marketplace with a platform like Shopify or Bigcommerce. There are also alternatives through Magento, CS.Cart, and OpenCart.
We'll cover each of the digital marketplace options below, but you should remember that all of them are going to have different features.
We covered the WordPress + Marketify + EDD solution since it's about as close to free as you can get. It's also easy to understand. So, you should expect some of the alternatives to be more expensive than WordPress and a theme.
That said, keep reading to see our favorite digital marketplace alternatives.
1. Shopify + Multi Vendor Marketplace App
Shopify requires an average monthly payment of around $29. There are only one or two viable marketplace apps sold through Shopify.
The Multi Vendor Marketplace app has the best reviews, but people still have their problems. Anyway, This app starts at $10 per month and goes up to $45 per month.
So, it might not be a bad idea if you already run a Shopify store and if you're trying to keep costs low in the short term. Otherwise, we don't like having so many recurring monthly payments.
2. Magento + Multi-Vendor Marketplace
Magento is aa free opensource ecommerce software with more features than you could ever imagine. Most consider it to be the most powerful ecommerce platform out there, but it does have quite the learning curve, similar to that of WordPress for a complete beginner.
Magento is free, but you'll have to pay for whatever hosting and theme you decide on. The Multi-Vendor / Drop Shipper extension sells for $349, and that's a one-time payment.
If you're tech-savvy enough and are looking for a system with unlimited scaling opportunities, Magento might be the right fit for you.
3. OpenCart with Multi Vendor / Drop Shipper
OpenCart serves many regular online stores quite well, but with one quick modification, you can turn your store into a full marketplace.
The Multi-Vendor / Drop Shipper extension also helps out with those in the dropshipping business, but its main purpose is for making an online marketplace.
The extension runs for $160. That's a steal considering it's a one-time payment and there's no fee for OpenCart to begin with. You will, however, have to factor in hosting costs and any design work you have done.
4. Sharetribe
Sharetribe is one of the few platforms made just for online marketplaces. If there's one company that knows everything about the multi-vendor business, it's Sharetribe.
In fact, this would most likely be our top marketplace recommendation if the pricing wasn't so steep. It's a little too expensive for new marketplaces with limited budgets. That said, the starting $39 per month isn't bad for growing businesses.
5. CS.Cart – Multi-vendor
CS.Cart sells its basic shopping cart software along with a multi-vendor product. This is a standalone marketplace software for selling directly through a single storefront.
It's similar to Sharetribe (where one of the main reasons the software exists is for marketplace selling,) but it's more expensive.
The starting price is $590 per year, but you can save money in the long run by paying a lifetime fee of $1,450.
If you're interested in even more multi-vendor marketplace platform/plugin combinations, read our extensive marketplace review article here.
Some of the listings in that article are great for running a digital marketplace, while others are more for physical products. It does seem, however, that most platforms are trying to offer support for both digital and physical product selling.
That’s all you need to know in terms of creating the platform for your digital product marketplace. Now it’s up to you to structure a solid design and bring in new buyers and sellers to make some money!
Let us know in the comments section if you have any questions.


Thank you for your very informed and helpful information, I was wondering if you get the business option in Bluehost would you still need Marketify and if not which route is recommended?
For physical product marketplaces, what about integrating shipping options like an integrated full landed cost calculator into the payment process at check-out?
Hi Catalin,
great research and great article. I have a question: Do you have any idea which is the software that Envato uses? This comes pretty close to what I want. Or does anyone here know this?
many thanks in advance,
Andrew Zeegers
It seems that they are using WordPress and a custom built multi-vendor platform.
Great Article. I think this is really a great Industry to get into especially in my country as the Ecommerce industry is seriously thriving, the dollar is constantly at a flux thereby putting purchases via USD in Nigeria to a slow down. Great Article. Thanks
Hello Catalin,
first thank you for the great article!
I have one question: is it possible to let Vendors sell videocourses
over the EDD Marketplace bundle? I haven´t found something like that yet.
Maybe you know how to do that?
I love to hear from you,
best regards, Tim
Hi
I will be just myself selling downloadable Digital Products ONLY, then do I actually need to install Marketify, or can I just use Easy Digital Downloads?
If YES, then am I correct in thinking that what I need are:-
1) Domain name
2) Host (Bluehost)
3) WordPress
4) Easy Digital Downloads
5) Payment Gateway (Paypal)
regards
Trevor
How do you add an affilliate marketing program for resellers to have their revenue comissions?